Monday, March 18, 2013

Headboard Out of My Mind


Get excited guys, because this month I actually made a craft someone would want to replicate!
I'm somewhat of a hippie, so even though I've been living at my apartment for 3 years I still don't have a bed frame or a headboard. I've seen so many projects of people that created their own headboards and thought, "Dude, I can totally make that."

So for the past few weeks I've been gathering supplies such as discounted particle board and 2x4's from Home Depot, batting and green high-density foam from Joann Fabric's (My alma mater), and pretty buttons and fabric from my family.

The measurements for all these materials are as follows:
1 piece particle board, 2' x 4' (Discounted because the edges were a bit squiffy)
2  boards about 1/2" thick and 4' long (Also discounted because they were a teeny bit warped)
1 inch thick high density foam, 2' x 4'
2 pieces of high loft batting, 54" x 36"
Giant piece of fabric (You'll want at least 5-6 inches on every side of the piece your making for stapling purposes)
Staple gun and 3/8" staples (In retrospect I would've gotten at least 1/2" staples, it was hard to get all that fabric underneath them)
Upholstery needle, upholstery thread, buttons, skewers (To anchor the thread on the back of the headboard), drill and drill bits (Thanks to Aaron Corp.)...

I prepped the headboard by measuring and drilling where I wanted my tufts to go. I decided to go small and only have 6. If you don't have a drill you can use a pegboard for the base, but they only come in 1/4" thickness and it makes it a bit wobbly. Drill the hole as small as you can, because when you start pulling and anchoring things through them it just makes the whole situation stronger.

Aaron Corp. has a whole mess of mystery items in the basement including a popcorn maker, crockpot and entire drill set! Who knew?

 This is called measuring... You do it twice...


Zombie sneakers.

 Baby Bell, inspecting the materials. Clearly they did not pass code.

 I ironed my fabric and laid it out on the biggest work surface I have, my living room floor.

 
Don't worry, I swept.

Then the batting and the foam:

 Predators was playing in the background for this whole project.

I folded the edges of the batting underneath to give the edges of the headboard a little more cushion.


I laid the board on top of the whole shabang and started folding the fabric in to be stapled to the back.

 Just like making a sandwich.

Please ignore my ashen claws.

 This was the fun part, I've always wanted to ignore the safety warnings on a staple gun!


From there a neat little tuck and fold to create the corners. I ended up having so much batting that the corners puffed out a little bit more than I wanted, so you just have to experiment with it to get it the way you like. If the batting is giving you too much trouble feel free to cut out a square right a the corner to lessen the bulk.
I didn't fold the corner all the way in like wrapping a present because that made the corner waaaay too bulky, so instead I went with this semi fold.

 This was more like making a gift than a sandwich.

I try to include my hands in posts as little as possible, but sometimes it's unavoidable.

 Staple, staple, staple allll over that beast. No such thing as too many staples. Try to staple farther away from the edges so that if you need to tighten the edges up in any sections, you can pull the fabric taut and just staple a little closer to the edge to even the whole thing out.

Whose couch is that? Jeez some people are just peegs...

 I then screwed my small boards to the back to prop up the headboard. I did some rough measurements, but in all honesty I haven't gotten my bedframe yet so I'll have to change the height eventually. You can always unscrew them and try again.

 This is going to be my picket sign. I'm not sure what I'm protesting yet.

 Recognize that gorgeous creature in the background?

 Now for the sewing portion of our day. I almost stopped right here because I thought this looked nice, but Aaron Corp. encouraged me to keep going because it would look nicer. And if a guy tells you something will look nicer, I think it's generally a good idea to keep going.


These are the hors d'oeuvres at the Hearst mansion.

 Broke up some skewers and found some pretty buttons. Using my upholstery needle and thread, I sewed each button to the front of the headboard through the holes I had made earlier.

 
Bing.

 
Bang.

 
Boom.

I used the skewers to tie the knot around to keep the buttons really sunk in on the front of the headboard. Some people use staples to anchor the thread, doing a lot of criss-crossing on the back to get them really tight. But I was so tired of using that gun at this point I just did this instead. It's easier if you tape the skewers to the board while you're tying the knot. It'll be easy to redo if the buttons ever fall out as well.

 When my laziness rears her head I get real creative.

I just noticed this looks like a belly button.

Four bellybuttons!

I had toyed with the idea of making the fabric brown so this would look like a chocolate bar :)


Tuesday, January 22, 2013

Blang Blang


WOW I'm so lazy. It's been a long time since I've done anything crafty, still getting over the salty drunk mess that is the holidays.
Saw this craft on another blog Elle and Ish and decided that it'd be a good rainy day project since I have all the supplies.
Picked up this little gem at a flea market a million years ago, don't really wear it much.

 Always thought this looked like Zoidberg. From Futurama?

See? A squid... That's what it looks like... Cause Zoidberg's a squid.

Gather supplies known as Urban Outfitters and dollar store nail polish.

Had a nuclear nail polish accident that splattered 10+ colors on my remaining bottles. Hence the weird angle, I'm hiding my flaws.

I used the white first, then realized dollar store nail polish is probably at the dollar store for a reason, it's not great quality. Decided to just splosh the pink nail polish on there and it worked a lot better.

Pretty Princess.

Wish I could make this post a little longer to look somewhat professional, but honestly it took me 10 minutes to do. Hadn't even had breakfast yet.
Just put the nail polish on each stone, maybe do a couple coats. It doesn't have to be perfect because no one will be looking that closely at it anyways.

Monday, November 12, 2012

Get Yo' Chevr-on


Heello thah! Been awhile, I know, I'm lazy. I actually did this craft a few weeks ago and just haven't gotten my act together enough to post. But because I love you so much I decided to put aside my own needs and concentrate on yours, mainly, making me new shoes.
My sister gave me these golden oldies since she wasn't crazy about them anymore, and being poor and desperate I took them in. I never really wore them even though they're not bad looking, but decided to try my hand at shoe making (Cobblerism?) for the heck of it.

Best description for this color I could muster? Dusty, burnt gold.

I decided a chevron pattern would be nice, apparently that's a popular style with people who know how to dress themselves. Dark blue and white seemed like a nice choice, very modern nautical.

When painting or applying several colors to anything, always go light to dark. It's much easier to cover white with black than to use 100 coats of white to cover one dinky shade of black. So, paint those shoes white like you just got your nursing degree.

 Final inspection before launch. Needs more cat hair.

Let the coat dry and do several layers to get a nice glossy base to work with.

I almost lost hope here, white flats are rarely acceptable.

First things first, cut up and tape back together some painters tape. I laid out the chevron pattern first then put it on the shoes, easier than eyeballing it once it's on the actual shoe. They have a weird shape apparently and it's easier to get the right design when you're working on a flat surface.

The table was like this for about 2 days before I finally got back on track.

 Bringin' home the big W (That means "win")

Once the paint has dried on the shoes, stick the Ws on. It gets a little frinkly at the back, but no ones going to be inspecting these so do what you can. As my grandmother says, "At the corners, it's every man for himself."

Had the suggestion I should just leave them like this...
Do several layers of the dark color as well, mine started to bubble after awhile but eventually the bubbles went away. Crafting karma?

 
 Since when is painter's tape supposed to take off paint?

This was an unforeseen part, the white paint came off a bit when I took the painters tape off. But to be honest, I actually liked the look a lot. Kind of rustic Anthropologie, n'est pas?

 
Snugs.


In the end, mistakes always tend to work out for the better. Either you learn to live with it, you learn to fix it, or you like it better than what you had originally planned!


Just in time to practice my modern tap dance routine. Mostly me running after Oscar. He loves it.
Also learned today? It's hard taking pictures of your feet.

Thursday, September 6, 2012

Word of the day: Hutch


One of the most historically important pieces of furniture in my family is the Hutch. I say this word to people assuming they also had Hutches at their grandparents' houses, but alas, most give me a look that says, "Oh God, she's finally snapped, hasn't she?".
In our family a Hutch was a gigantic piece of furniture comprised of a shelving type unit on top with a cabinet type unit on the bottom. Our grandmother had a massive one, and the kids would fight over who got to decorate it during the holidays. Now the cousins in our family all have a weird fascination with Hutches, which is made extra weird by the fact that all the normies out there don't know what it is.
One day my sister pulled me aside and said, "I found something on the side of the road, I don't know if you'd like it..." She brought me to her car, and when she unveiled a pristine mini-Hutch sitting daintily in her trunk, I screamed so loud all the dogs next door started barking.
I immediately swaddled the little guy in my arms and brought him home, lovingly tucking him in a corner of our living room to hold our other most prized possessions: our DVDs. It's been sitting there for over a year.
I finally decided to get off my butt this weekend and paint it, a nice light grey. Here's what happened...

 Don't be fooled, he's crazy like a fox.

First things first, sand that sucker. This was the most daunting part of the entire process, all those fancy swirly bits on the top and sides? I thought it would take forever and thus was loathe to start. It actually only took about an hour or so one afternoon, sanding doesn't have to be perfect just as long as you get the first layer of varnish off.

He looks kinda like Don Draper with that stain right...? Kinda...?

Taped the little guy up. I will maybe paint the backsplash in the future but for now, baby steps. I've heard a good way to make sure the tape goes down all the way on the edges is to run a credit card over it, good call.


 Action shot.

He took this picture himself for his mySpace page.

I then painted a nice and thick coat all over that bad boy. Starting from the top so that I could run the paint over any drips, I made sure to get all the nooks and crannies. Even the undersides of the shelves and all over the wonky corners. Wait a few minutes for the paint to settle, then look for drips. Any drips you can carefully tap with your finger very lightly to get rid of them, or a paper towel if your a freak.

 Looks like a guy is trapped under there huh?

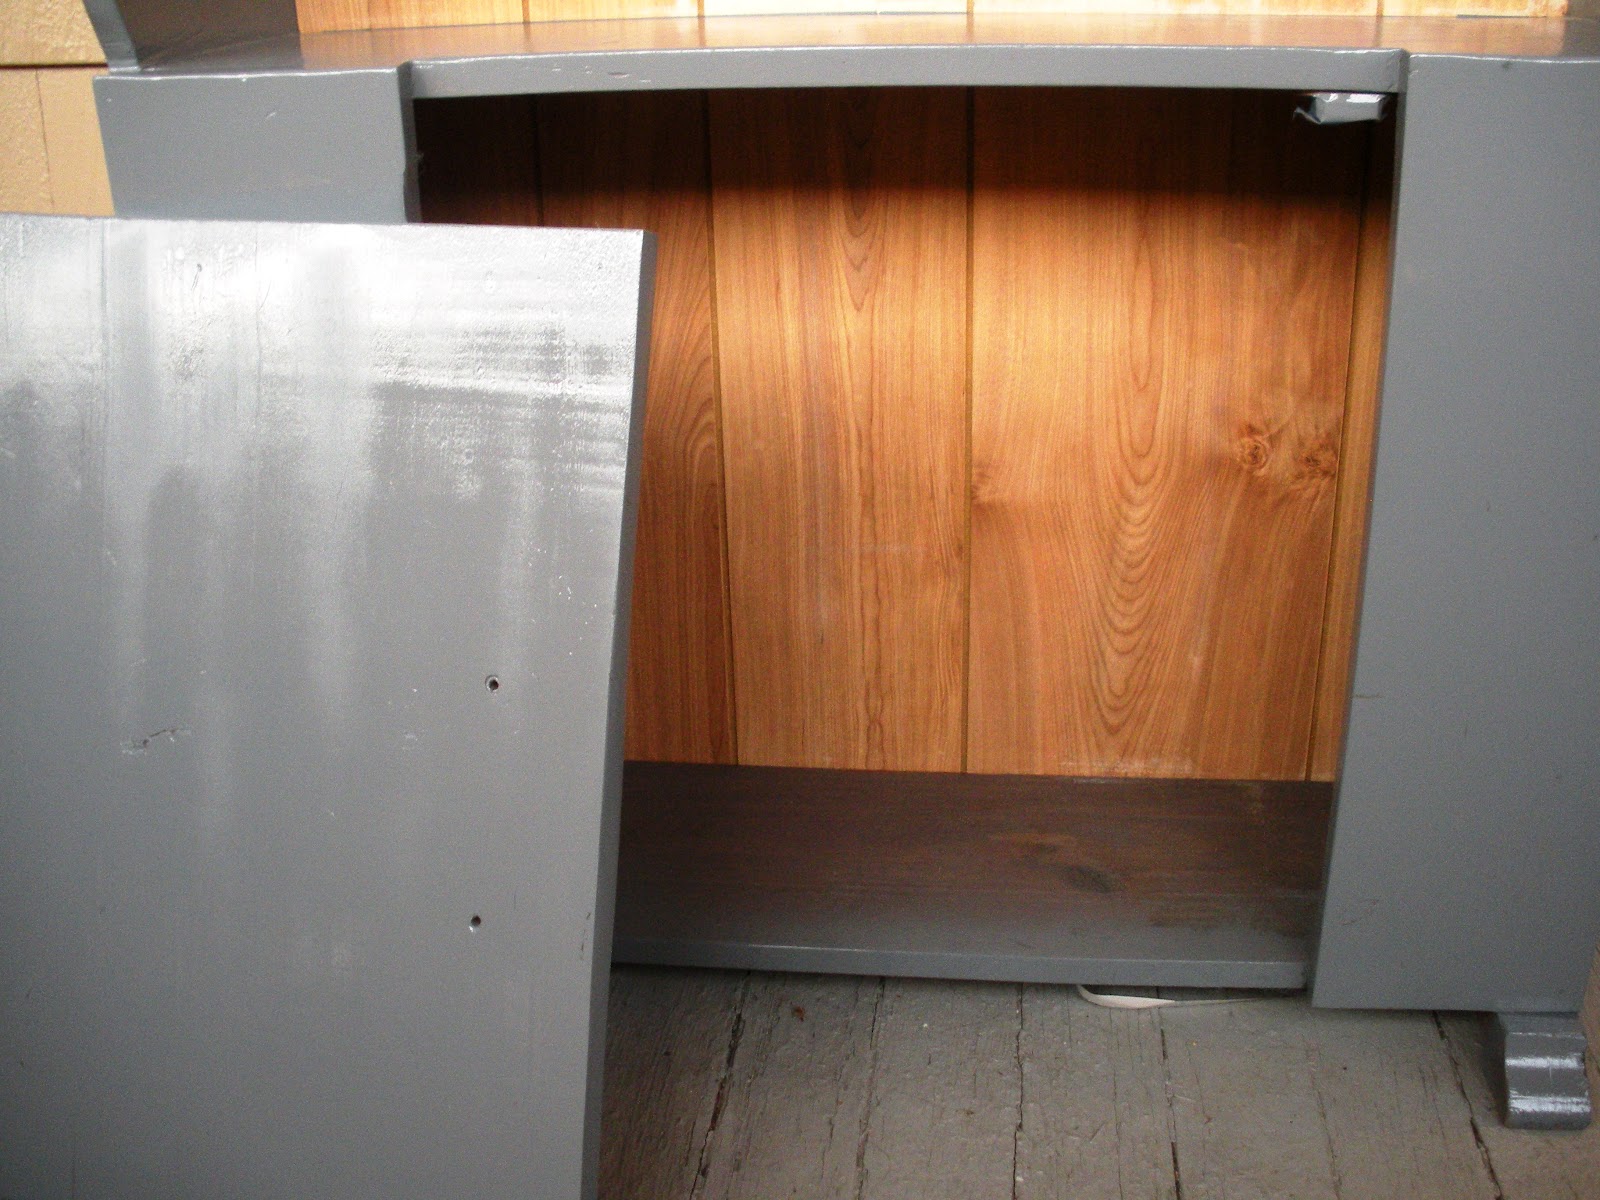
Sand and paint the door, making sure to take off any hardware and cover any bits you don't want painted with tape (In this case the magnet on the door that keeps it closed.) Wait for everything to dry for an hour or two, do another coat, also nice and thick but not so much that you'll have more drips. You're just looking to keep any wood from showing through, not making a coat so thick you could stand a birthday candle up in it.
 
Balanced it on this so I could get the undersides without it sticking to the paper.

 I had some nice silvery polish on hand from another craft, so gave this crazy gothic knob a little mini-makeover. I think he looks pretty dapper.

 Perfect place to hide a cat I MEAN... Normal stuff.

The paint turned out way shinier than I originally thought, but luckily I really loved it. I call it my little piece of candy now.

He's practically winking at you.

Finished product, I ended up putting 3 coats of paint on just to be safe and because spraypainting is fun. I'm only now noticing the weird bits on the backsplash, apparently they were there before but I may have to paint those too.

*Leaning against a doorframe* Hey baby, come here often?

Monday, July 9, 2012

Charmed Life

Got home last night and was cleaning up my room, and one of the things I got recently was a new bead holder (See how exciting my life is?). Moving over my beads I found a project I had half started a few months ago, so decided to finish it up.
One of the things I do is cannibalize old jewelry if i happen to like one bead or two on it, this little horseshoe I got from a necklace I've had since middle school. Decided I'd like it better with other little charms, and this pink bead seemed pretty cute.

Looks kinda like a face, with a big pink nose and one 
eye winking? Just pretend you see it...

Check out my tutorial for making a pendant out of a bead here. Once you've attached your charms to a jump ring it should be pretty easy to pop on a chain. (I also cannibalize old chains for just such a purpose.)

Fastest jeweler in the world.

Now all that's left is to flaunt your priceless jewels around the world, you hot minx you.

I took a pic of it on too, but no one wants to see my freckly neck.

Wednesday, June 27, 2012

American Spirit


Heyooo, I don't think I've ever documented the holiday cards I've been sending out, so I remembered at the last minute to do it this time. I don't know if anyone else has noticed that all the good holidays are squashed into 3 or 4 months of the winter (When we need holidays the most, honestly), so the spring and summer are kind of dead.
The one big holiday we can all agree is awesome is the fourth! Illegal fireworks, red white and blue decorations and food, and all the flag waving and barbequing that would be weird the rest of the year.
I splurged and bought a little star stamp to get a little crazy on these cards, and had a lot of fun with it. It'll be a good addition to the cat and noodle bowl stamps that've been passed down from my mom.

My poor ink pads, this is why I shouldn't have nice things.

First things first, dig through your gallon ziploc bag of stamp accoutrements and pull out all the patriotic colors and stamps you have. I came up with this half dead metallic set and a silver pen, but hey simpler is better.

My innate classiness just screams outta this pic, huh?

 This'll be a quick post, basically I did a little random stampy all over the cards, as well as a few little guys on the inside. I won't show you that though because that's where I also wrote my heartfelt messages to friends and family such as "Hey there cowboy, enjoy this here Fourth of July card. Hope a firework doesn't explode in your face. Love, A".
It's not what you do that's important, it's what you say.

This is America.

So that's it! I also wanted to include a little red white and blue banner for people to hang on their doors or computers or punch bowls or whatever, but I sealed the envelopes before I remembered that. I'll keep it in mind for next year.
Have a happy Fourth! And remember, don't drink and drive cause the cops are out like crazy.

Tuesday, June 19, 2012

Cork it to Me, Part Duex


So, decided to make a prettier display for my jewelry. Right now I have a Christmas themed memory board as my holder, and it looks a little ghetto. I've been carting around this blank corkboard for a couple of months in my car and decided to put it to work.

Pretty exciting Sunday night, eh?

Gathered my oh-so-professional paints that you might've seen in my dough ornament post and some varied accoutrements. I'm going to be painting a design right on the cork using any oddly shaped things as stamps, cut up sponges, paper towel tubes pressed into cool shapes, pencil erasers etc. I also used paintbrushes so I didn't go 100% insane trying to get the designs I wanted.

Ignore the reminders I have written on my hand.

To get a perfect circle when I started, I taped down a tupperware lid and painted my first bits around it. Once I take away the lid I'll be able to use the bit I already painted as my guide, working outwards or inwards, depending.

No I do NOT eat cheese directly out of a tupperware. Jeez.

I'll spare you the grisly details, mostly I just used bigger or smaller dots as my main medium. But I also threw in some smushed paper towels rolls (to get the sharp cornered oval shape you see on the outskirt of the design), and bottle caps (the largest circles you see). I took it slowly and tried to repeat patterns that I thought looked good, I didn't have a design in mind but tried not to overdue it.

Kinda looks like a monster with lots of eyes and teeth, yes?

I did the same on a few other corners of the board, some of them came out better than others. I didn't really dig the design in the upper right corner, but I'll just put that at the bottom when I put my jewels on it so no one can see :).

Little off center, but no one's gonna give me a score.

It's hard to see, but someone wrote something offensive on the board edge (About school not being super fun, groundbreaking.) So I needed to paint over that too.

This lady weirded me out the whoooole time I did this.

I taped up the cork, making sure the paint was dry all the way.

Still weirding.

Shot it with some spray paint, let it dry. Did a second coat. Let it dry.

Ta-daaaa!

Voila, finished board. Hate to cover it up with my plastic diamonds and discount jewelry, but I have to throw that stuff somewhere.

Aaaand back to looking like crap.