Thursday, September 6, 2012

Word of the day: Hutch


One of the most historically important pieces of furniture in my family is the Hutch. I say this word to people assuming they also had Hutches at their grandparents' houses, but alas, most give me a look that says, "Oh God, she's finally snapped, hasn't she?".
In our family a Hutch was a gigantic piece of furniture comprised of a shelving type unit on top with a cabinet type unit on the bottom. Our grandmother had a massive one, and the kids would fight over who got to decorate it during the holidays. Now the cousins in our family all have a weird fascination with Hutches, which is made extra weird by the fact that all the normies out there don't know what it is.
One day my sister pulled me aside and said, "I found something on the side of the road, I don't know if you'd like it..." She brought me to her car, and when she unveiled a pristine mini-Hutch sitting daintily in her trunk, I screamed so loud all the dogs next door started barking.
I immediately swaddled the little guy in my arms and brought him home, lovingly tucking him in a corner of our living room to hold our other most prized possessions: our DVDs. It's been sitting there for over a year.
I finally decided to get off my butt this weekend and paint it, a nice light grey. Here's what happened...

 Don't be fooled, he's crazy like a fox.

First things first, sand that sucker. This was the most daunting part of the entire process, all those fancy swirly bits on the top and sides? I thought it would take forever and thus was loathe to start. It actually only took about an hour or so one afternoon, sanding doesn't have to be perfect just as long as you get the first layer of varnish off.

He looks kinda like Don Draper with that stain right...? Kinda...?

Taped the little guy up. I will maybe paint the backsplash in the future but for now, baby steps. I've heard a good way to make sure the tape goes down all the way on the edges is to run a credit card over it, good call.


 Action shot.

He took this picture himself for his mySpace page.

I then painted a nice and thick coat all over that bad boy. Starting from the top so that I could run the paint over any drips, I made sure to get all the nooks and crannies. Even the undersides of the shelves and all over the wonky corners. Wait a few minutes for the paint to settle, then look for drips. Any drips you can carefully tap with your finger very lightly to get rid of them, or a paper towel if your a freak.

 Looks like a guy is trapped under there huh?

Sand and paint the door, making sure to take off any hardware and cover any bits you don't want painted with tape (In this case the magnet on the door that keeps it closed.) Wait for everything to dry for an hour or two, do another coat, also nice and thick but not so much that you'll have more drips. You're just looking to keep any wood from showing through, not making a coat so thick you could stand a birthday candle up in it.
 
Balanced it on this so I could get the undersides without it sticking to the paper.

 I had some nice silvery polish on hand from another craft, so gave this crazy gothic knob a little mini-makeover. I think he looks pretty dapper.

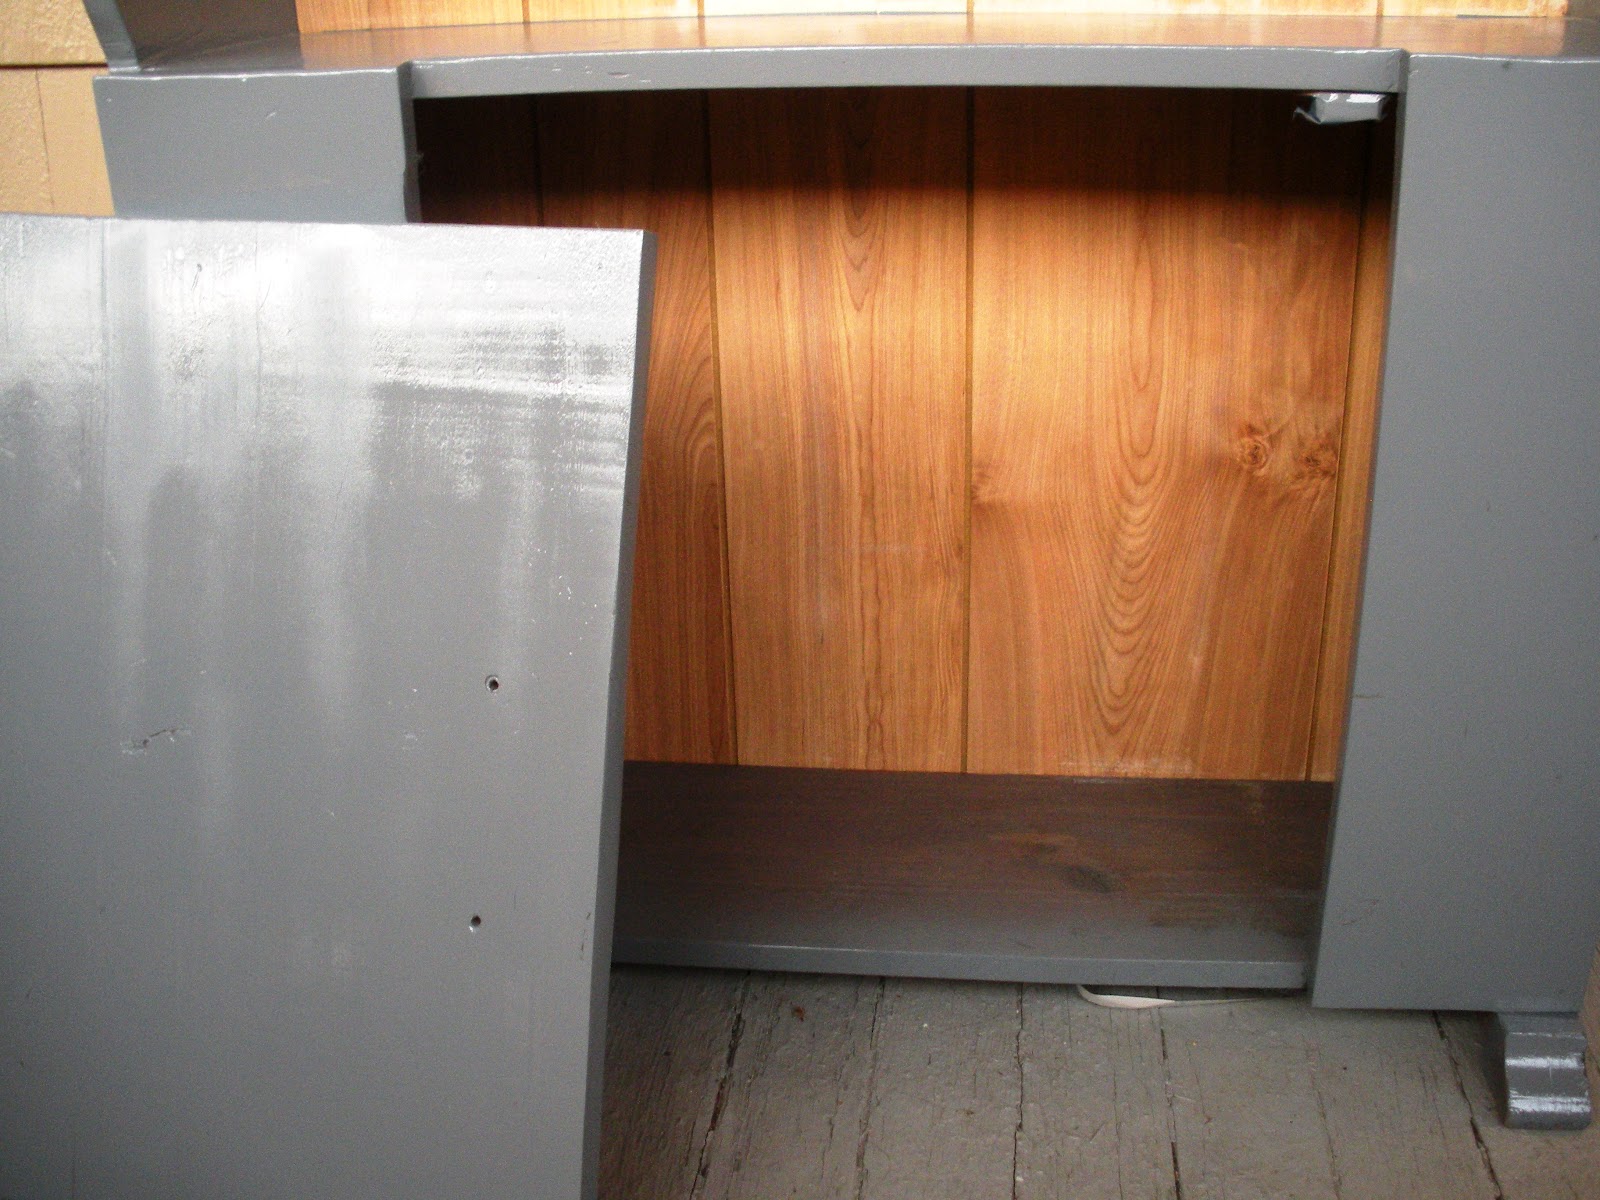
 Perfect place to hide a cat I MEAN... Normal stuff.

The paint turned out way shinier than I originally thought, but luckily I really loved it. I call it my little piece of candy now.

He's practically winking at you.

Finished product, I ended up putting 3 coats of paint on just to be safe and because spraypainting is fun. I'm only now noticing the weird bits on the backsplash, apparently they were there before but I may have to paint those too.

*Leaning against a doorframe* Hey baby, come here often?

Monday, July 9, 2012

Charmed Life

Got home last night and was cleaning up my room, and one of the things I got recently was a new bead holder (See how exciting my life is?). Moving over my beads I found a project I had half started a few months ago, so decided to finish it up.
One of the things I do is cannibalize old jewelry if i happen to like one bead or two on it, this little horseshoe I got from a necklace I've had since middle school. Decided I'd like it better with other little charms, and this pink bead seemed pretty cute.

Looks kinda like a face, with a big pink nose and one 
eye winking? Just pretend you see it...

Check out my tutorial for making a pendant out of a bead here. Once you've attached your charms to a jump ring it should be pretty easy to pop on a chain. (I also cannibalize old chains for just such a purpose.)

Fastest jeweler in the world.

Now all that's left is to flaunt your priceless jewels around the world, you hot minx you.

I took a pic of it on too, but no one wants to see my freckly neck.

Wednesday, June 27, 2012

American Spirit


Heyooo, I don't think I've ever documented the holiday cards I've been sending out, so I remembered at the last minute to do it this time. I don't know if anyone else has noticed that all the good holidays are squashed into 3 or 4 months of the winter (When we need holidays the most, honestly), so the spring and summer are kind of dead.
The one big holiday we can all agree is awesome is the fourth! Illegal fireworks, red white and blue decorations and food, and all the flag waving and barbequing that would be weird the rest of the year.
I splurged and bought a little star stamp to get a little crazy on these cards, and had a lot of fun with it. It'll be a good addition to the cat and noodle bowl stamps that've been passed down from my mom.

My poor ink pads, this is why I shouldn't have nice things.

First things first, dig through your gallon ziploc bag of stamp accoutrements and pull out all the patriotic colors and stamps you have. I came up with this half dead metallic set and a silver pen, but hey simpler is better.

My innate classiness just screams outta this pic, huh?

 This'll be a quick post, basically I did a little random stampy all over the cards, as well as a few little guys on the inside. I won't show you that though because that's where I also wrote my heartfelt messages to friends and family such as "Hey there cowboy, enjoy this here Fourth of July card. Hope a firework doesn't explode in your face. Love, A".
It's not what you do that's important, it's what you say.

This is America.

So that's it! I also wanted to include a little red white and blue banner for people to hang on their doors or computers or punch bowls or whatever, but I sealed the envelopes before I remembered that. I'll keep it in mind for next year.
Have a happy Fourth! And remember, don't drink and drive cause the cops are out like crazy.

Tuesday, June 19, 2012

Cork it to Me, Part Duex


So, decided to make a prettier display for my jewelry. Right now I have a Christmas themed memory board as my holder, and it looks a little ghetto. I've been carting around this blank corkboard for a couple of months in my car and decided to put it to work.

Pretty exciting Sunday night, eh?

Gathered my oh-so-professional paints that you might've seen in my dough ornament post and some varied accoutrements. I'm going to be painting a design right on the cork using any oddly shaped things as stamps, cut up sponges, paper towel tubes pressed into cool shapes, pencil erasers etc. I also used paintbrushes so I didn't go 100% insane trying to get the designs I wanted.

Ignore the reminders I have written on my hand.

To get a perfect circle when I started, I taped down a tupperware lid and painted my first bits around it. Once I take away the lid I'll be able to use the bit I already painted as my guide, working outwards or inwards, depending.

No I do NOT eat cheese directly out of a tupperware. Jeez.

I'll spare you the grisly details, mostly I just used bigger or smaller dots as my main medium. But I also threw in some smushed paper towels rolls (to get the sharp cornered oval shape you see on the outskirt of the design), and bottle caps (the largest circles you see). I took it slowly and tried to repeat patterns that I thought looked good, I didn't have a design in mind but tried not to overdue it.

Kinda looks like a monster with lots of eyes and teeth, yes?

I did the same on a few other corners of the board, some of them came out better than others. I didn't really dig the design in the upper right corner, but I'll just put that at the bottom when I put my jewels on it so no one can see :).

Little off center, but no one's gonna give me a score.

It's hard to see, but someone wrote something offensive on the board edge (About school not being super fun, groundbreaking.) So I needed to paint over that too.

This lady weirded me out the whoooole time I did this.

I taped up the cork, making sure the paint was dry all the way.

Still weirding.

Shot it with some spray paint, let it dry. Did a second coat. Let it dry.

Ta-daaaa!

Voila, finished board. Hate to cover it up with my plastic diamonds and discount jewelry, but I have to throw that stuff somewhere.

Aaaand back to looking like crap.


Monday, May 14, 2012

Baseball T Makeover


I love baseball T's. I dunno about you, I think they're super comfy and really cute. I have a few myself, but my favorite is this gigantic one I wear when I'm loafing around my house. I get a little embarrassed when I wear it around my neighborhood though, so i decided to give it a little makeover.

I gave up on a sexy pose, little teapot it is.
First step, tighten it up. I turned it inside out and put it back on, and pinned all down the side and underneath the arms so that it was the size I was looking for. Word to the wise? Err on the side of a little larger, the first round I did was way too tight and I had to take out my stitches and do them over. A little wiggle room is always a good thing.

Pinning my armpits was awkward to say the least.

I then traced a line down the side where the pins were, and saw that for the body the pins were 2.5 inches in from the edge. I mirrored this on the other side of the shirt.

 Pencil washes off fabric. Best quilting tip evar.

I replaced the safety pins with actual pins, the safety pins just make it easier to pin the shirt while wearing it so they don't fall out when I'm taking it off.

 Little pins coming in handy.

I drew a line down where the safety pins were on the sleeves, and measured the new width compared to the original width. At the armpit the seam had been taken in 4 inches, and at the cuff the seam was taken in 2 inches. I matched this on the other sleeve and replaced those safety pins with regular ones.
I made a nice simple straight stitch all down the side and sleeves of the shirt, but BEFORE cutting the excess fabric off I tried it back on to check the size.
Like I said, the first time was too tight, glad I hadn't cut first and asked questions later. I resewed the lines and tried it back on again. Fit well, but the sleeves at the cuffs were too tight, I fixed this by hemming the cuffs a bit. Finally cut off the excess fabric.

Tried to think of a project for the leftover scraps, project 
ended up being "Fill up the trashcan".

Tried it back on, perfect fit! But we're not done, I want to add a little detailing too.

Such good lighting in my room.

I decided to fabric paint a little retro number on the front to give it a little more pizzazz. 7's my lucky number, so I went with that. I found a cool font I liked online, traced it onto a thick stock piece of paper and cut it out using my Xacto knife.

Finally found a use for all those Golf magazines sent to our house.

I then taped the heck out of the back of the number, to keep the paper nice and flush with the fabric while I was painting. Nothing worse then going through all this trouble only to have a little smudge do to sloppy paper-taping.

By thick stock paper I mean the cover to my sketchpad.

I used a light blue fabric paint, and when the paper was nice and tight with the fabric painted in dabbing motions along the cutouts. It's best to keep your paintbrush at a 90 degree angle with the fabric so no bristles accidentally slip under the paper.

Someone told me these 7's look like sassy raindrops.

Let it dry a bit to prevent smudges, and take the paper off. I then took a tooth pick and filled in little tiny holes I saw and to neaten up the edges of the numbers. You could probably also use a really tiny paintbrush or something else, but I'm poor and a toothpick is what I have :)

Little smudge at the top of 7 number 1, but what can you do?

Voila! Once the shirt is dry, wear it around town and tell people you're a softball superstar from the 70's.

Skulking in the background. He's lucky I didn't make him model the shirt.

Thursday, May 3, 2012

Badonkadonk


So... I enjoy being a grown up, paying my own bills and getting to come home as late as I want. Unfortunately one of the things that isn't as fun is that you actually age as you get older... Lame. So certain parts of my anatomy have... changed... shall we say? Recently, the circumference of my hips. I'm digging this new big girl body, but my pants and dresses are not. So, one of my favorite dresses will no longer do as a dress, but must be rebuilt better, faster, stronger! Today? We turn it into a shirt! BWAHAHAHAHAHAAAAAAA!!!

Is it the rapture?

I want to make it long enough so that it's not a belly shirt, but it's a little tough. The buttoned middle part ends a little too high for my taste, so I had to hem just below it.
This is how the buttoned pieces of fabric are held together.

Hard to see, but Waldo's in here somewhere...

Hard to see, but the flap of fabric is just tucked under itself. So I started tearing out the seams around it to see what shape the fabric was in underneath it.

Just tore it out with my teeth.

There wasn't much fabric to work with, but it's enough as long as you're careful with your sewing.

Pretty gnarly when you start tearing clothes apart.

I cut the extra fabric of the skirt off with an extra few inches to work with.

Wish I could think of something useful for this extra fabric besides "turban".

Aaaand cut right down the middle from the center opening.


I couldn't hem the sides of the opening straight down, there just wasn't enough extra fabric to work with. So I tucked them under and created a little V part.

Kinda looks like an angry, crazy face huh? With jacked up eyebrows?

With an area this small it's much easier to hand sew what you need. So I stitched as close to the edge as possible to match the sewing on the rest of the shirt/dress.

 This is where all my quilting finesse comes in handy.

 Looks messy from the back but better from the front.

So profesh. No dress-bot could do better.

Added a couple of reinforcing stitches to the back so it wouldn't flap open all the time. But I just stitched the heavier pieces of fabric together, so nothing shows from the front.

Not as nice.

 
Much more nice.


Okay you can see one stitch from the front, on the left hand side. But no one's going to be inspecting the hem of my shirt. :)

For the love of God don't drop one of these pins on the floor. You'll never see it again.

Pin the bottom hem of the shirt, using as little fabric as possible so it's still nice and long in the waist.

Had to search the house for an hour to find this iron.

Ironed the hemline before sewing so it stays nice and even while it's going through the machine. I sewed a 1/2 inch hem all along the bottom, sewing back on my stitches at the very start and end of the line to reinforce them.

Like my blinds? Don't act like you're not impressed.

And voila! Now I just have to go on safari.