Monday, February 13, 2012

Cauliflowers?! For meeeeee??

Stumbled onto something pretty awesome a few weeks back, mashed cauliflower. I dunno if you feel the same way as I do about cauliflower, I loves it, but it's hard to find fun ways to cook it. Roasting, steaming (blah), with crumbly ritz crackers on top (Super yum) etc. It feels very underappreciated though for how good it tastes even with the boring ways to cook it. So this seemed like a fun recipe to try...

First things first, acquire a cauliflower.

Like my magnet collection?

Break it up into small pieces and boil for 10 mins or until soft.

Smushy.

While it's boiling, gather 1/4 parmesan cheese, 2 tablespoons minced garlic, 1/2 teaspoon salt, 1/4 cup milk and if you want, a tablespoon of cream cheese.

Squeeze bottle of pre-minced garlic. Best. Purchase. Ever.

When the cauliflower is soft (easily punctured all the way through with a fork) drain it and pat dry with paper towels. Doesn't have to be crazy dry, just enough so it's not dripping (We don't want no watery mashed flowers).

Immediately transfer to a food processor while it's still hot and combine the milk, cheese and garlic.

 Please excuse my bland kitchen.

Pulse until all mixed up like.

Yummmmm...

Enjoy your healthy and super yummy concoction. Only eat in moderation, safety first ;)

Fin.

Wednesday, February 8, 2012

Very sad post

Last week our beloved MCAT had an unexpected health issue and passed away. It was very quick and he wasn't in any pain, but it's sad for all of us left behind who loved him very much. He charmed whoever he met with his playful personality and sweet disposition, and we know that he's been reincarnated as a dust-loving, window-watching, cat-chasing tiger in the jungles of the wild. Rest in Peace little guy, you'll be very missed.


 Emerson Cat Munsell
2008 - 2012


Monday, January 30, 2012

Tonight we make soap


Helloooo, very sorry it's been about a month since I did a post. I really have been crafting, cooking etc but I just haven't gotten my act together enough to document and post it for everyone's viewing pleasure. Finally decided enough was enough and would try out making soap.

You can get really into soap and make it with lye and stuff and ingredients, not my style. So I bought a brick of soap base, some lavender oil and little lavender bits (seeds? I dunno...).

Been carrying this around for awhile...

Tip? Put some lavender oil right on your pillow, will make for some sweet dreams.

The soap base is fun because there's lots of different kinds you can buy. Goat's milk, soy, pure white etc. I got straight clear regular kind cause I'm broke and I wanted to see the lavender bits in it.

Take some, cut into little chunks.

 I don't know why, but this looks really cool. Like space ice.
 
Melt in the microwave first for 30 seconds, then 10-20 seconds until completely melted. It took me about 4 or 5 rounds of 10-20 second intervals until it was totally melted. It's the consistency of water so be carefuls.

Iew.

Put some drops of lavender oil in there, I just kind of shook the little container out until it smelled pungent enough. You can put the lavender bits in now too, but they tend to float to the top so let em steep in there for minute to bog em down.

Cover a wide bottomed container with wax paper, making sure it gets into all the corners.

Fits perfectly.

Pour the wax in, making sure it covers the whole bottom.

Also iew.

Let it sit for a hot second, then sprinkle the lavender bits in (Unless you've already done this.) This'll cause them to stick to the surface and they won't fly around when we pour the second layer of soap on top. I did not do this and my bits flew around.

*shake*shake*shaaaake*... *shake*shake*shaaake*... shake your 
laaavendeeer biiiits, shake your laaavendeeer biiiits!

I honestly like the looks of the soaps with less lavender in them better, so that's what I suggest. I went a little crazy on the first batch and they turned out a little murky.

Let that layer dry for a bit, 10-15 minutes, then pour a second layer on top.

Did not go as planned.

Let that layer dry as well, 20 minutes or so. Then peel it back from the wax paper until you have a little freestanding brick'o'soap.

Bam.

From here you can go crazy, just cut off jagged pieces, cut it up into neat little cubes, or even make soap shavings... I chose cookie cutters cause I just wanted to go straight up insane.

Seems legit.

Luckily soap is really easy to cut, so it's not difficult to use a bunch of shapes. I'd use metal though because plastic ones seem to be a bit too flimsy to do any real damage.

At one point my hand started to hurt, so I'd press down on the cutter with a flat hard surface, like the pan we originally poured the soap into.

Ease and class are the name of the game.

After fitting in as many shapes as possible, you can ball up and reheat the remaining soap. Although with the lavender bits the soap got tinted darker and darker with each reheat.

Blorbular.

When I only had a tiny bit of soap left I tried this method, taping down a cookie cutter to wax paper and pouring the soap into it.

Super easy, right?

Did not work.

ehhhh...

Let em dry, stack em up and package em for your friends and family. Don't worry, they'll have to coo over them and pretend they're really cool, so you'll feel validated in the end.

Glamour shot

Picture perfect

Monday, December 19, 2011

Crinkly Chocolatey Cookies


In the quest to become an actual adult I've decided to follow through with my plan to make treats for my office for the holidays instead of just buying cookies and eating them out of the bag at home. I had a bunch of recipes saved up and set aside Sunday to make some, first up - crinkle cookies.
The recipe seemed daunting at first since it calls for a stand mixer, something which only professional bakers and housewives from the 50's seem to have, but in the end I didn't even need to use one. Score one, me.

Put the oven to 350 degrees and make sure the racks are placed so that there's three equal spaces between them. This is important cause we're going to rotate the pans mid-bake.
Sift together ( I did not sift, personally, but you're supposed to) 2 cups flour, 2 teaspoons baking powder, and 1/2 teaspoon salt in medium bowl. Set aside.

Floof, floof.

Finely chop 4 ounces unsweetened chocolate. Don't go crazy with the "finely chop" part, just so that it's not several gigantic pieces so it'll melt evenly.

Baker's chocolate: not like real chocolate, trust me.
 
Add to a small saucepan with 1/4 cup vegetable oil and put on low heat.

I know I shouldn't want to eat this cause of the oil, but still...

Heat, stirring occasionally (like every minute or so, don't leave this stuff unattended) until the chocolate is melted and incorporated with ze oil.

 
Goooooooo...

 
When melted, set aside to cool.

When it's been cooling for just a few minutes, put it in a large bowl with 2 cups sugar.

What do I want to eat every step of this recipe? 
Sugar, chocolate and oil are good, right?

This is where the actual recipe calls for a stand mixer, I just used a good ole fashioned wooden spoon and it worked just fine. Stir it up until it's all mixed together and looks like gooey chocolately sugar.

Okay, don't wanna eat this step.

Add 2 teaspoons vanilla extract and four eggs, ONE AT A TIME, fully incorporating each egg before adding the next. I used a electric mixer to make this go faster.

Love getting to use my mixer, makes me feel like an actual baker :)

Still using the electric mixer for as long as you can, add the flour mixture slowly. By the end I couldn't even use the mixer because the dough had gotten so thick, so I just got in there with ma hands and smushed it up until it was all mixed together. Obviously wash your hands really well before you do this.

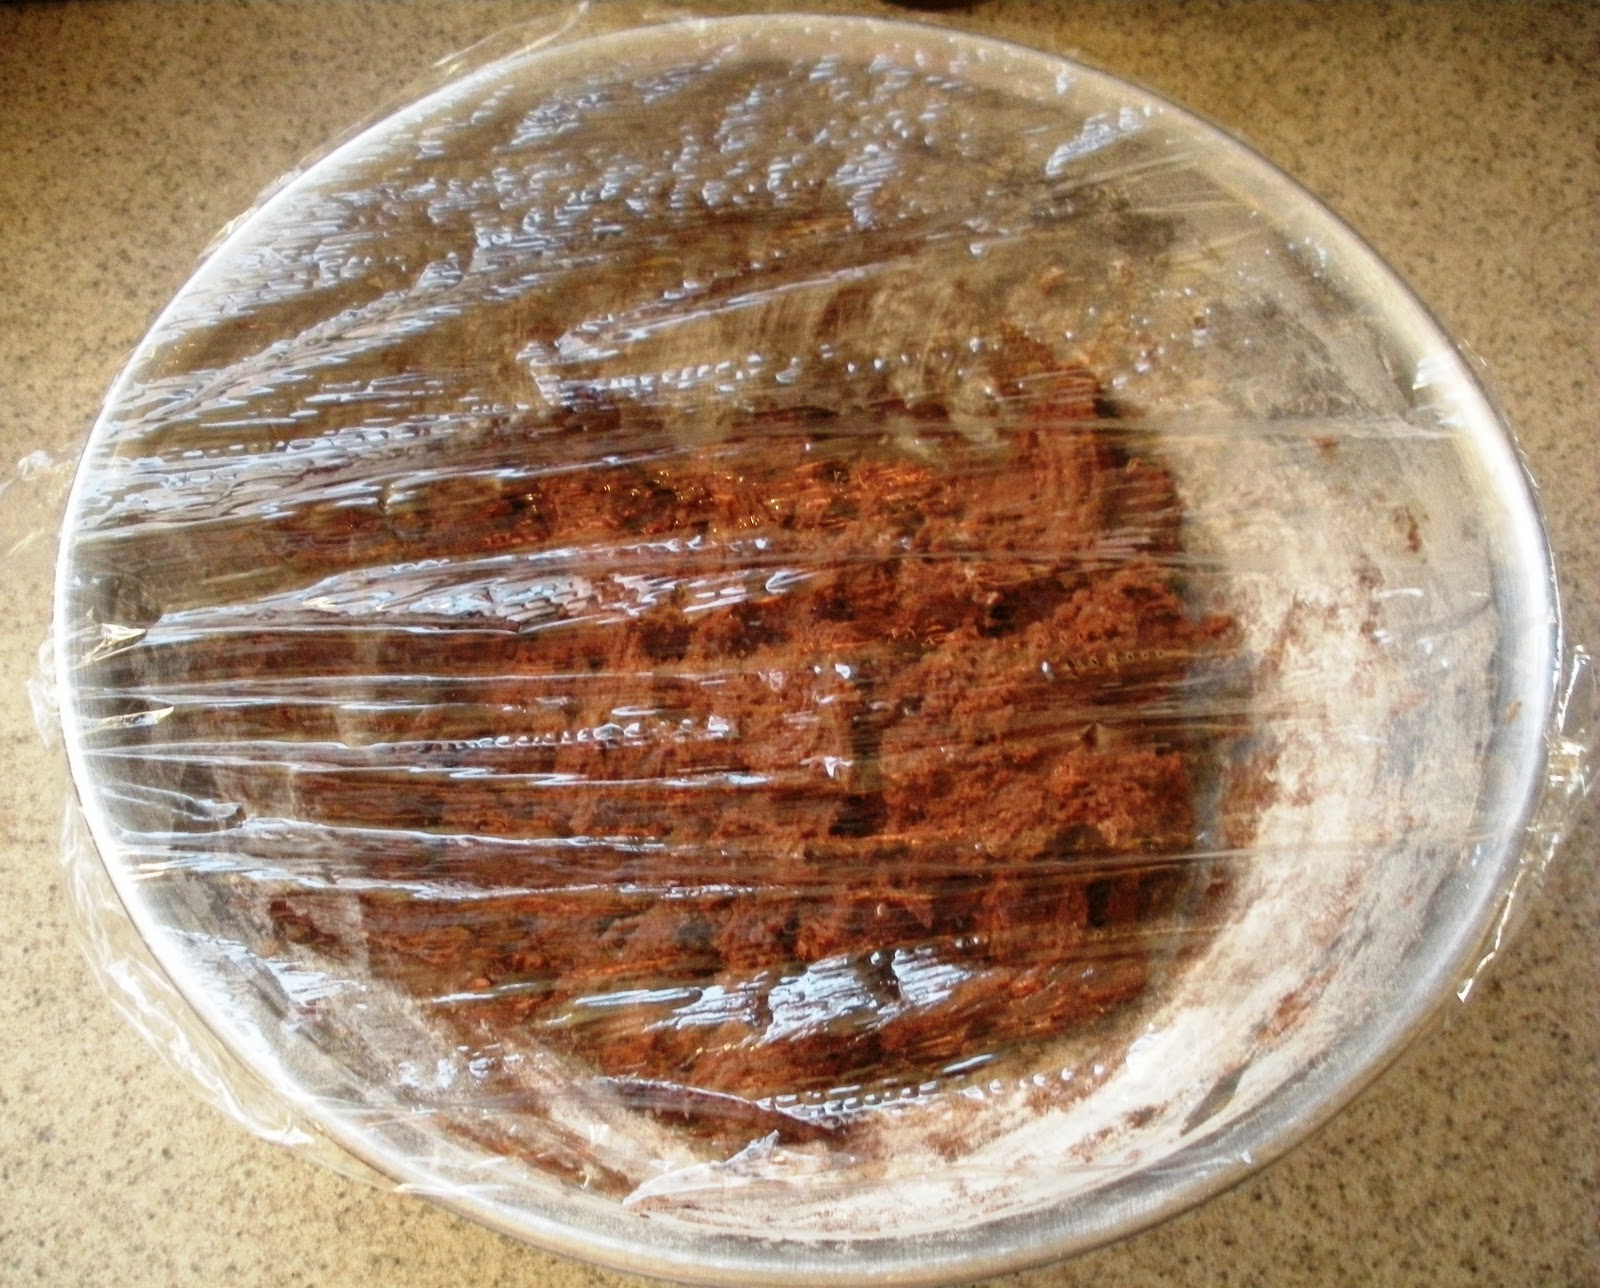
Cover with saran wrap and chill for 1-2 hours.

Shove aside the ten mustard containers and half eaten jars 
of salsa to make room for his behemoth.

When the dough is nice and thick and malleable like playdough, take about 1 tablespoon sized pieces out and roll them into balls. Put about a cup of confectioner's sugar in a shallow dish and roll those suckers in it until they're all coated.

Rarely get to use confectioner's sugar, makes me feel like a princess!

Line 2 baking sheets with parchment paper and place the balls about 2 inches apart on the sheet.

Balls.

Place one sheet on the lower rack of the oven and the other on the upper rack. Bake at 350 degrees for about 5 minutes, then rotate the sheets. Bake for an additional 5 minutes for gooey soft cookies, and 7 minutes for crisper cookies. At one point I forgot about them all together and they baked for an extra, like, fifteen minutes, and still turned out pretty good.

Voilas.

Let cool, knock off excess sugar by tapping each cookie on a hard surface lightly by its edge. Continue to eat them yourself sitting in front of the TV watching old X-Files, or bribe friends and family into wrapping your holiday presents for you. Either way: score one, us.

Thursday, December 15, 2011

Panko Parmesan Chicken Avec Sprouts


One of the reasons I don't always get around to doing crafts every night is that I'm trying to teach myself more about cooking. I was a big fan of super fast meals using very few ingredients, but I've found those usually turn out pretty terrible. So now I try to make quickish meals with not a ton of ingredients, it's all about compromise. Luckily Martha (that is Martha Stewart, the holy God of crafting and all things handmade) always has really yummy recipes online that are quick, healthy and don't require a four hour grocery store trip.
I chose the panko and parmesan crusted chicken with brussel sprouts, you can check out the original recipe here.
First step, turn the oven onto 450 degrees. Mix 1/3 cup parmesan and 1/3 cup panko. Panko is this wonderful crunchy Asian breadcrumb dealy, super good and healthier than the regular breadcrumbs. I just got a can of it. Pretty psyched. For the parmesan I used shaky cheese like you use on spaghetti, turned out pretty normal.
Weirdly, this mix actually smelled really good. I had to stop 
myself from just sneakily eating a handful...

Place about a pound and a half of chicken in a 9" x 13" casserole dish, toss with 1 tablespoon olive oil and 1 tablespoon of thyme. Season with salt and pepper.

Nothing weirder looking than raw chicken.
Sprinkle the panko/parmesan mixture on top, trying to cover all the corners.

Looks way better with these fragrant crumbs all over it.

While the oven is still heating up, prepare the brussel sprouts. Cut just the tip of the bottom of the sprout off and take a couple outer leaves off too. This sounds really tedious since they're so small, but it goes by really fast. Then rinse them out and dry em off a little bit.

My Grammy's strainer, hot right?

I omitted the mushrooms because I didn't feel like buying mushrooms, but plain ole brussel sprouts are pretty awesome all by their lonesome. After rinsing toss them in a bowl with 2 tablespoons olive oil and salt and pepper. Toss for a few minutes to make sure they're all covered in that oily goodness.

Why do things instantly look insanely delicious when
they're covered in olive oil, salt and pepper?

Spread them out on a lined baking sheet. Feel free to sprinkle with some more salt and pepper.

Profesh.

Martha says to make sure your oven racks are placed at the bottom third and top third of the oven. And when Martha says where to place your oven racks, you better listen.

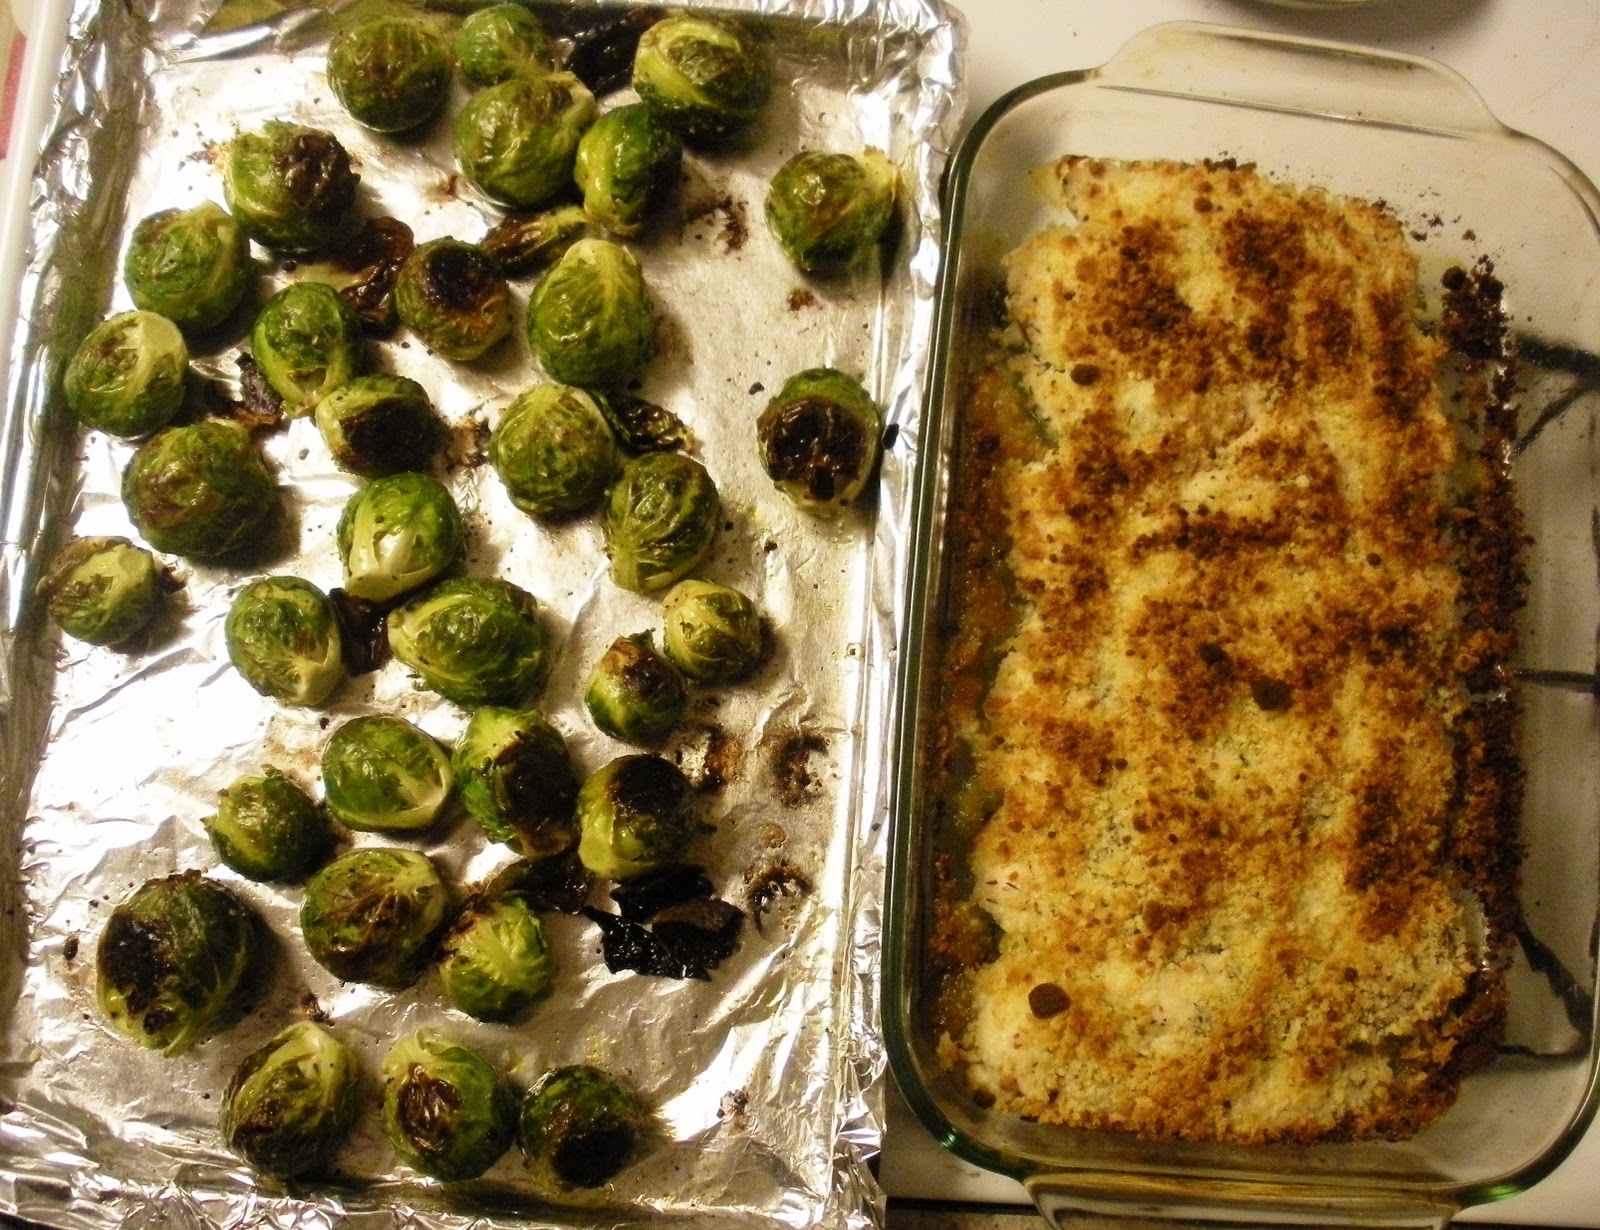
Pop the chicken in the upper rack, sprouts in the lower and check on them after 15 minutes. Poke the sprouts with a fork and if the fork slides through easily then they're done. Cut a small slit in the chicken and take a gander in there, if it looks not at all pink but a creamy white and the juices of the chicken run clear, that sucker's done.

 
Glorious, love when veggies are a little singed.


The whole process only took about 30-40 minutes, super fast. It also tasted great, and I'm no whiz in the kitchen. I think that if I can pull this off, most people with an oven and general sense of the English language can too.

Action shot.

Tuesday, November 29, 2011

Stanley the Holiday Shrubbery


I'm sure everyone can agree with me that putting up decorations is one of the funnest and most festive parts of the holiday season. Whether it's reverently lighting a menorah and gearing up for Channukah, winding green boughs up the stairs and decorating the mantle, or even whipping out your boxed Charlie Brown tree with it's one sad little red ornament, decorating gets everyone in the spirit.

One of the big things I've missed since getting my own apartment is the holiday decorations, so this year I decided NO MORE. No more shall I stare glumly about my apartment completely lacking in sparkly green and red things, tacky gold bells and blinking fake trees. NO MORE I SAY!

So I bought a fake 3 foot tall tree at Home Depot (Cause I'm classy), and decided to make some dough ornaments (Cause I'm poor). This was also something we did when we were kids that got us in the spirit, with the very same set of cookie cutters bequeathed upon us by my Grammy Gail. Check it out:

The recipe for these goodies is crazy easy.
4 cups flour, 1 cup salt, 1.5 cups warm water.

 This may look like cookie dough. It is NOT cookie dough. It is salty, watered flour.

Stir until a ball forms.

 Balls.

Roll out the ball on a floured surface til it's about 1/4 of an inch thick.

 I'm sure you know what rolled out dough looks like, but visuals are always helpful.

Cut out shapes.

 I got a little carried away on the stars... And trees... Also bells.

Poke a little hole for the hook or thread to go through so that you can hang it.

 The reindeer ornaments have holes right through 
their heads... Poor planning on my part.

Put on an ungreased cookie sheet and cook in a 300 degree oven for about 20-30 minutes.

 
It helps to have two or three sheets go in the oven at a time, cause you'll end up 
with about a thousand of these ornaments.


They'll puff up a little bit but will still work for our purposes.

 
Again: NOT COOKIES.

Let them cool, then wipe them gently with a very slightly damp paper towel. This just gets off excess flour so the paint will stick better. Use simple craft paint or poster paint, nothing fancy. I got mine at CVS.

 
This is the really fun part.


Make it pretty thick, because the ornaments will suck up the paint and you should do at least two coats. Don't worry, they dry quick like a bunny.

 
Bing, baang. Wait that's not right... 

It's fun to have a variety of brushes and implements for putting little decorations on the ornaments like toothpicks, straws for doing little circles, or any other tiny things you can dip in paint.

 
My favorite ornament is that crazy smiling star right there. We call him 
Hellstar cause of his dead eyes.


Unfortunately we only had one dinky paint brush and a toothpick, but we made do and came up with some pretty cool designs.

 
Also the little reindeer turned Tyrannosaur is pretty good too...


In the end it's not about having a perfect looking tree or home, it's about having fun with the people around you and making silly memories that you can gaze back on fondly later. Also it's a good idea not to get attached to anything 'cause eventually the cats will wreck it.

Hellstar gets a prime location.

So there you have it. Some salty dough, children's craft paint and one pot holder later, you have the prettiest and most cheaply put together Christmas tree in the world. Also we named him Stanley. The End.