Monday, December 19, 2011

Crinkly Chocolatey Cookies


In the quest to become an actual adult I've decided to follow through with my plan to make treats for my office for the holidays instead of just buying cookies and eating them out of the bag at home. I had a bunch of recipes saved up and set aside Sunday to make some, first up - crinkle cookies.
The recipe seemed daunting at first since it calls for a stand mixer, something which only professional bakers and housewives from the 50's seem to have, but in the end I didn't even need to use one. Score one, me.

Put the oven to 350 degrees and make sure the racks are placed so that there's three equal spaces between them. This is important cause we're going to rotate the pans mid-bake.
Sift together ( I did not sift, personally, but you're supposed to) 2 cups flour, 2 teaspoons baking powder, and 1/2 teaspoon salt in medium bowl. Set aside.

Floof, floof.

Finely chop 4 ounces unsweetened chocolate. Don't go crazy with the "finely chop" part, just so that it's not several gigantic pieces so it'll melt evenly.

Baker's chocolate: not like real chocolate, trust me.
 
Add to a small saucepan with 1/4 cup vegetable oil and put on low heat.

I know I shouldn't want to eat this cause of the oil, but still...

Heat, stirring occasionally (like every minute or so, don't leave this stuff unattended) until the chocolate is melted and incorporated with ze oil.

 
Goooooooo...

 
When melted, set aside to cool.

When it's been cooling for just a few minutes, put it in a large bowl with 2 cups sugar.

What do I want to eat every step of this recipe? 
Sugar, chocolate and oil are good, right?

This is where the actual recipe calls for a stand mixer, I just used a good ole fashioned wooden spoon and it worked just fine. Stir it up until it's all mixed together and looks like gooey chocolately sugar.

Okay, don't wanna eat this step.

Add 2 teaspoons vanilla extract and four eggs, ONE AT A TIME, fully incorporating each egg before adding the next. I used a electric mixer to make this go faster.

Love getting to use my mixer, makes me feel like an actual baker :)

Still using the electric mixer for as long as you can, add the flour mixture slowly. By the end I couldn't even use the mixer because the dough had gotten so thick, so I just got in there with ma hands and smushed it up until it was all mixed together. Obviously wash your hands really well before you do this.

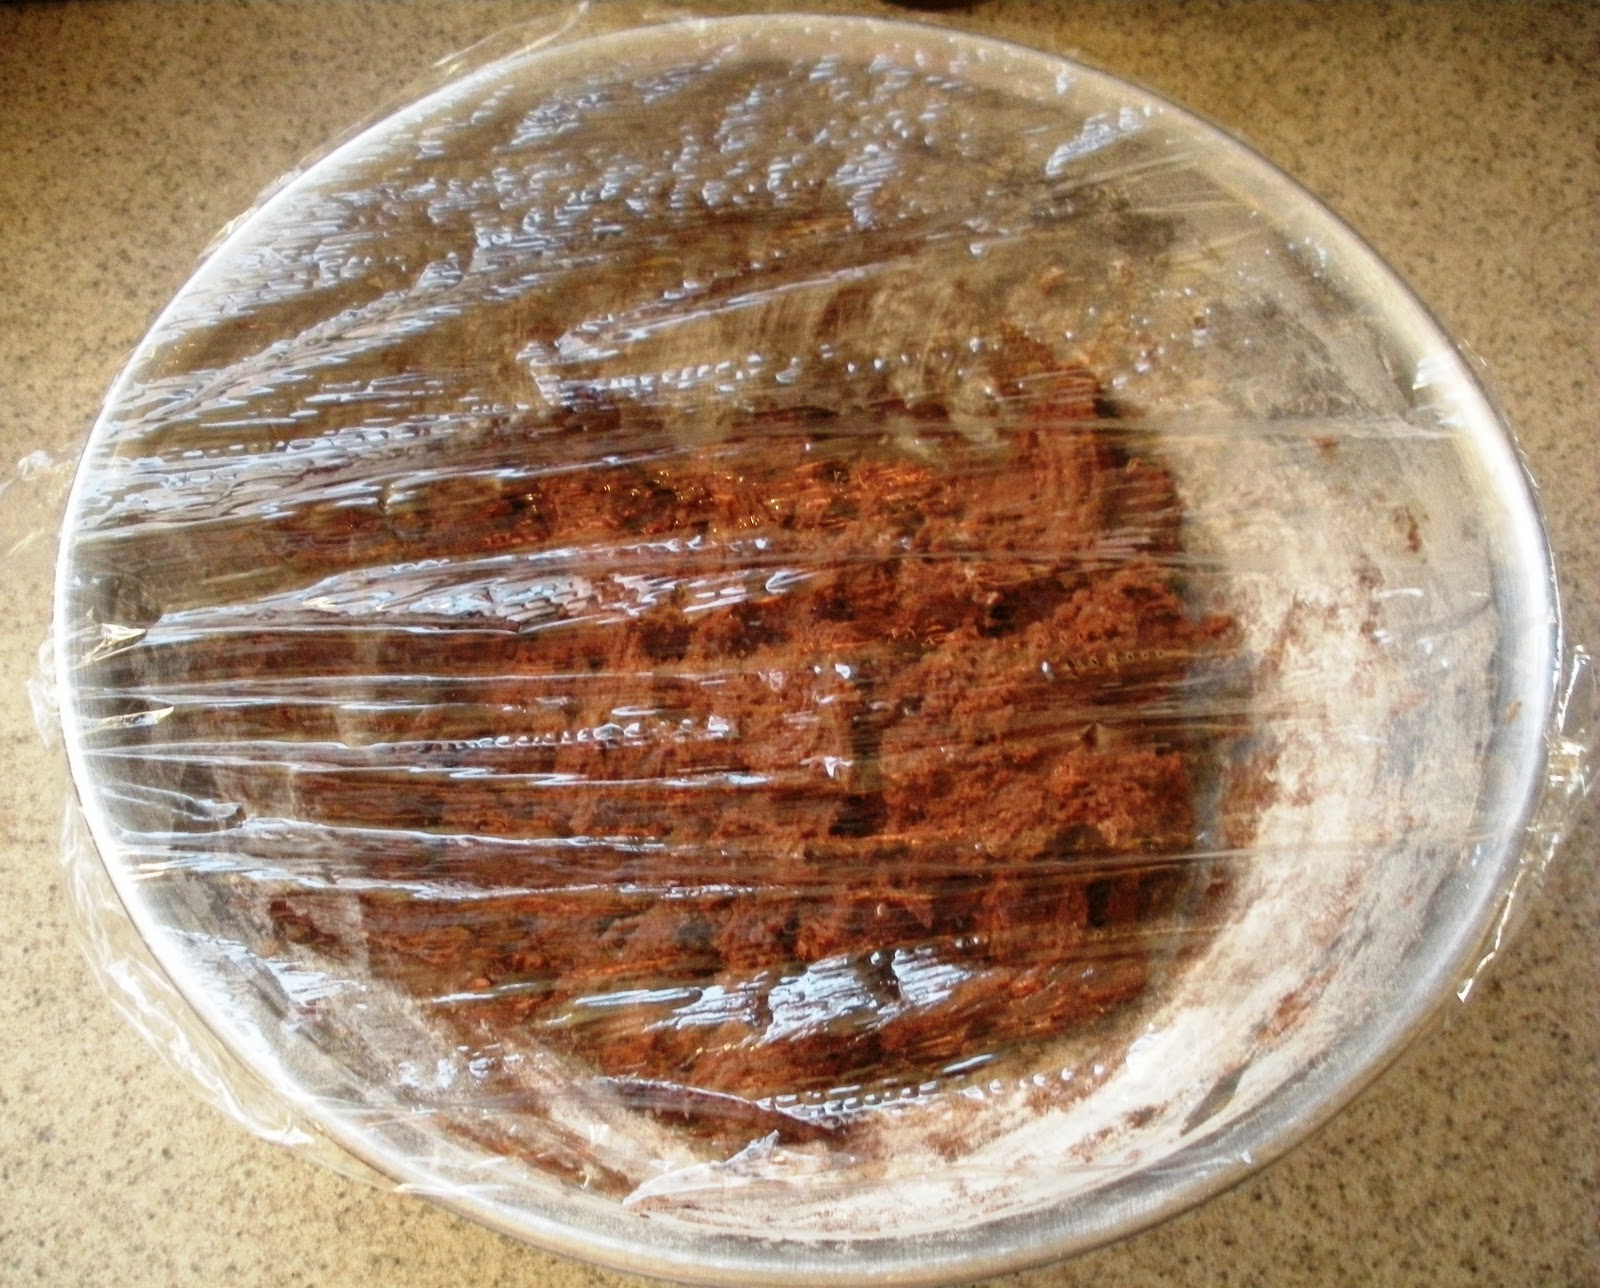
Cover with saran wrap and chill for 1-2 hours.

Shove aside the ten mustard containers and half eaten jars 
of salsa to make room for his behemoth.

When the dough is nice and thick and malleable like playdough, take about 1 tablespoon sized pieces out and roll them into balls. Put about a cup of confectioner's sugar in a shallow dish and roll those suckers in it until they're all coated.

Rarely get to use confectioner's sugar, makes me feel like a princess!

Line 2 baking sheets with parchment paper and place the balls about 2 inches apart on the sheet.

Balls.

Place one sheet on the lower rack of the oven and the other on the upper rack. Bake at 350 degrees for about 5 minutes, then rotate the sheets. Bake for an additional 5 minutes for gooey soft cookies, and 7 minutes for crisper cookies. At one point I forgot about them all together and they baked for an extra, like, fifteen minutes, and still turned out pretty good.

Voilas.

Let cool, knock off excess sugar by tapping each cookie on a hard surface lightly by its edge. Continue to eat them yourself sitting in front of the TV watching old X-Files, or bribe friends and family into wrapping your holiday presents for you. Either way: score one, us.

Thursday, December 15, 2011

Panko Parmesan Chicken Avec Sprouts


One of the reasons I don't always get around to doing crafts every night is that I'm trying to teach myself more about cooking. I was a big fan of super fast meals using very few ingredients, but I've found those usually turn out pretty terrible. So now I try to make quickish meals with not a ton of ingredients, it's all about compromise. Luckily Martha (that is Martha Stewart, the holy God of crafting and all things handmade) always has really yummy recipes online that are quick, healthy and don't require a four hour grocery store trip.
I chose the panko and parmesan crusted chicken with brussel sprouts, you can check out the original recipe here.
First step, turn the oven onto 450 degrees. Mix 1/3 cup parmesan and 1/3 cup panko. Panko is this wonderful crunchy Asian breadcrumb dealy, super good and healthier than the regular breadcrumbs. I just got a can of it. Pretty psyched. For the parmesan I used shaky cheese like you use on spaghetti, turned out pretty normal.

Weirdly, this mix actually smelled really good. I had to stop 
myself from just sneakily eating a handful...

Place about a pound and a half of chicken in a 9" x 13" casserole dish, toss with 1 tablespoon olive oil and 1 tablespoon of thyme. Season with salt and pepper.

Nothing weirder looking than raw chicken.
Sprinkle the panko/parmesan mixture on top, trying to cover all the corners.

Looks way better with these fragrant crumbs all over it.

While the oven is still heating up, prepare the brussel sprouts. Cut just the tip of the bottom of the sprout off and take a couple outer leaves off too. This sounds really tedious since they're so small, but it goes by really fast. Then rinse them out and dry em off a little bit.

My Grammy's strainer, hot right?

I omitted the mushrooms because I didn't feel like buying mushrooms, but plain ole brussel sprouts are pretty awesome all by their lonesome. After rinsing toss them in a bowl with 2 tablespoons olive oil and salt and pepper. Toss for a few minutes to make sure they're all covered in that oily goodness.

Why do things instantly look insanely delicious when
they're covered in olive oil, salt and pepper?

Spread them out on a lined baking sheet. Feel free to sprinkle with some more salt and pepper.

Profesh.

Martha says to make sure your oven racks are placed at the bottom third and top third of the oven. And when Martha says where to place your oven racks, you better listen.

Pop the chicken in the upper rack, sprouts in the lower and check on them after 15 minutes. Poke the sprouts with a fork and if the fork slides through easily then they're done. Cut a small slit in the chicken and take a gander in there, if it looks not at all pink but a creamy white and the juices of the chicken run clear, that sucker's done.

 
Glorious, love when veggies are a little singed.


The whole process only took about 30-40 minutes, super fast. It also tasted great, and I'm no whiz in the kitchen. I think that if I can pull this off, most people with an oven and general sense of the English language can too.

Action shot.