Tuesday, November 29, 2011

Stanley the Holiday Shrubbery


I'm sure everyone can agree with me that putting up decorations is one of the funnest and most festive parts of the holiday season. Whether it's reverently lighting a menorah and gearing up for Channukah, winding green boughs up the stairs and decorating the mantle, or even whipping out your boxed Charlie Brown tree with it's one sad little red ornament, decorating gets everyone in the spirit.

One of the big things I've missed since getting my own apartment is the holiday decorations, so this year I decided NO MORE. No more shall I stare glumly about my apartment completely lacking in sparkly green and red things, tacky gold bells and blinking fake trees. NO MORE I SAY!

So I bought a fake 3 foot tall tree at Home Depot (Cause I'm classy), and decided to make some dough ornaments (Cause I'm poor). This was also something we did when we were kids that got us in the spirit, with the very same set of cookie cutters bequeathed upon us by my Grammy Gail. Check it out:

The recipe for these goodies is crazy easy.
4 cups flour, 1 cup salt, 1.5 cups warm water.

 This may look like cookie dough. It is NOT cookie dough. It is salty, watered flour.

Stir until a ball forms.

 Balls.

Roll out the ball on a floured surface til it's about 1/4 of an inch thick.

 I'm sure you know what rolled out dough looks like, but visuals are always helpful.

Cut out shapes.

 I got a little carried away on the stars... And trees... Also bells.

Poke a little hole for the hook or thread to go through so that you can hang it.

 The reindeer ornaments have holes right through 
their heads... Poor planning on my part.

Put on an ungreased cookie sheet and cook in a 300 degree oven for about 20-30 minutes.

 
It helps to have two or three sheets go in the oven at a time, cause you'll end up 
with about a thousand of these ornaments.


They'll puff up a little bit but will still work for our purposes.

 
Again: NOT COOKIES.

Let them cool, then wipe them gently with a very slightly damp paper towel. This just gets off excess flour so the paint will stick better. Use simple craft paint or poster paint, nothing fancy. I got mine at CVS.

 
This is the really fun part.


Make it pretty thick, because the ornaments will suck up the paint and you should do at least two coats. Don't worry, they dry quick like a bunny.

 
Bing, baang. Wait that's not right... 

It's fun to have a variety of brushes and implements for putting little decorations on the ornaments like toothpicks, straws for doing little circles, or any other tiny things you can dip in paint.

 
My favorite ornament is that crazy smiling star right there. We call him 
Hellstar cause of his dead eyes.


Unfortunately we only had one dinky paint brush and a toothpick, but we made do and came up with some pretty cool designs.

 
Also the little reindeer turned Tyrannosaur is pretty good too...


In the end it's not about having a perfect looking tree or home, it's about having fun with the people around you and making silly memories that you can gaze back on fondly later. Also it's a good idea not to get attached to anything 'cause eventually the cats will wreck it.

Hellstar gets a prime location.

So there you have it. Some salty dough, children's craft paint and one pot holder later, you have the prettiest and most cheaply put together Christmas tree in the world. Also we named him Stanley. The End.

Monday, November 7, 2011

Apples n Pumpkins n Beer, oh my!

Heyooo, sorry this is a little late, but I wanted to share my Autumnal crafts with the world.

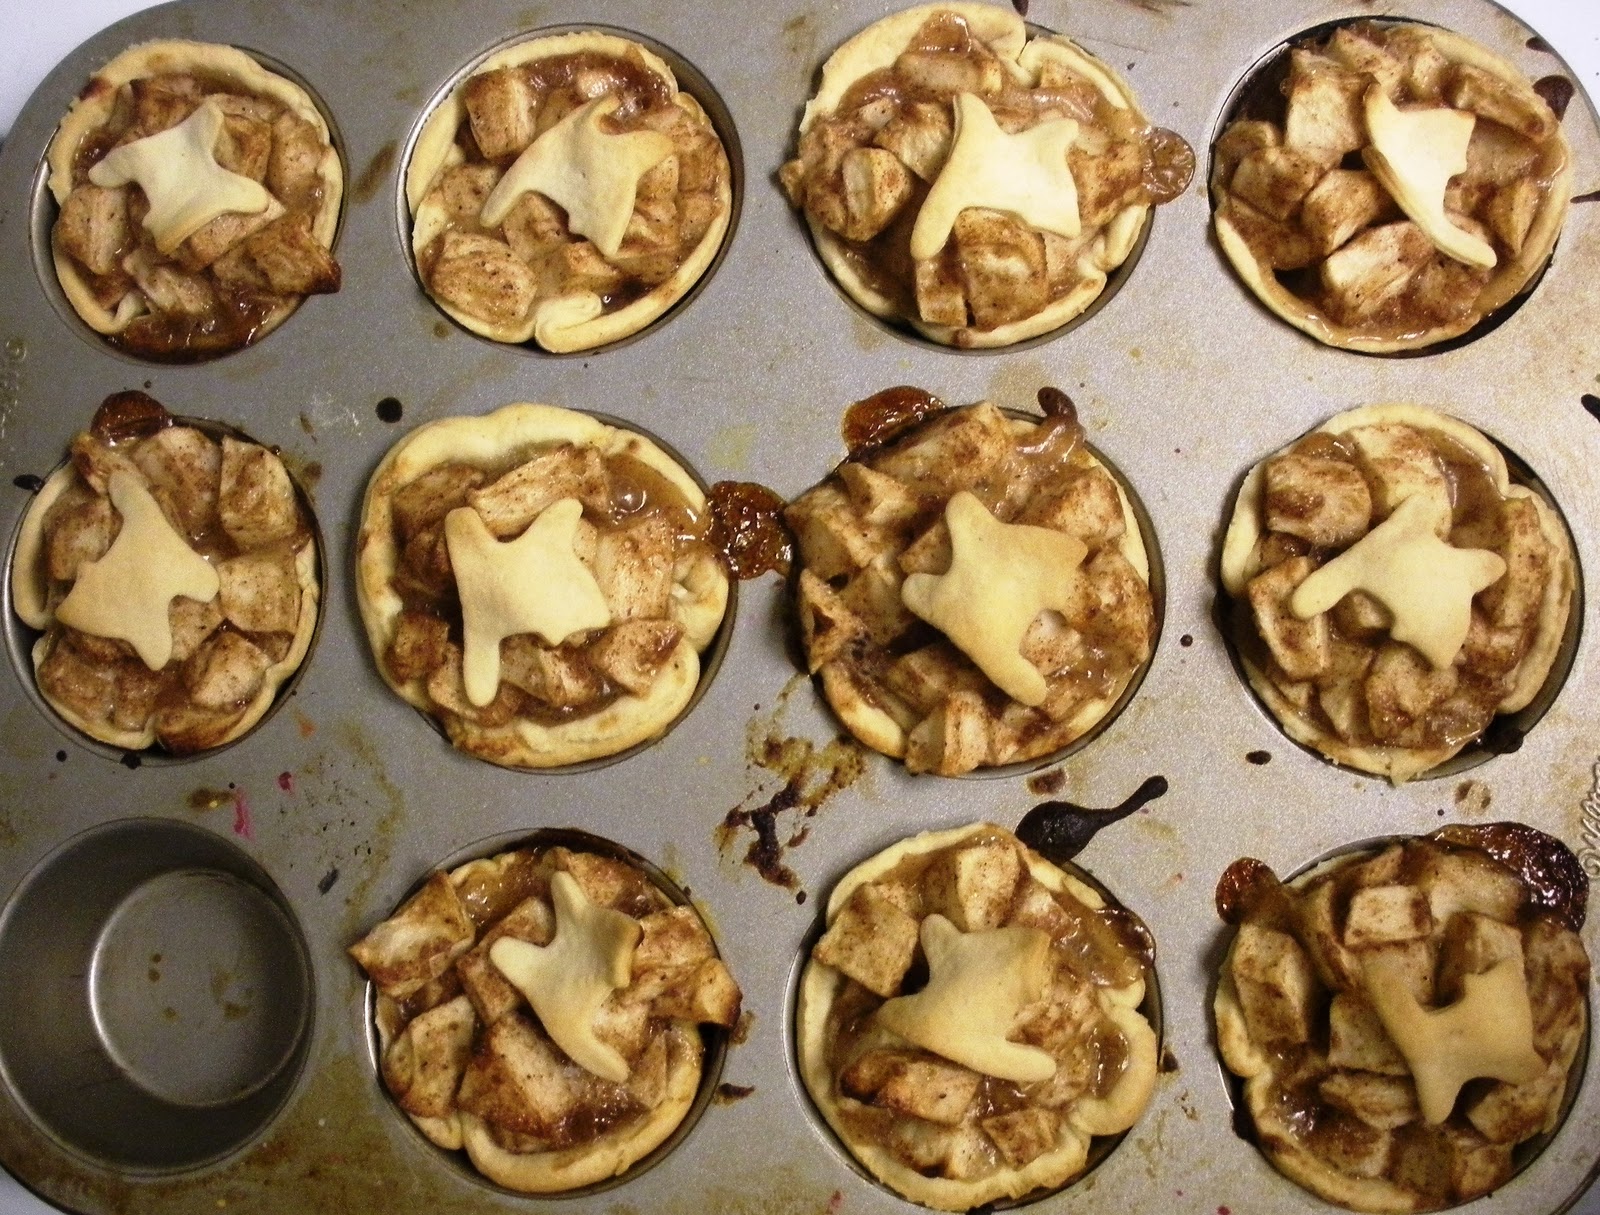
First thing you gotta do in the Fall is go apple picking. This year the wife and I went to Honey Pot Hill Orchards in Stow, MA (check 'em out here Honey Port Hill Orchards - quality joint.) where we stocked up on what I was told was a half bushel of macintoshes. Mostly I ended up just eating them throughout the day, but I like to make some kind of apple device as well. This time it was mini apple tartlets, I'm all about the minis lately, maybe cause I feel less guilty about eating three at a time rather than a half a pie?

I'll let you check out the original recipe here Novel Eats - Mini Apple Pies; I like it because the creator originally only had a few apples to work with, so you don't need a ton of ingredients. Here are a couple of glamour shots of the final product:

 Yes, these are cat cutouts. Yes, I'm comfortable with that.

You gonna get eaten.

They were pretty awesome, I would usually grab one for breakfast on my way out the door.

Second Fall thing one must do, carve a pumpkin and use it's innards for a snack! I picked a lovely little gourd, nice n round n fat and took him home for his ritual disembowelment. Also wanted to really get in the Halloween spirit, so I decided to down some pumpkin beer as well.

It's the ciiircle of liiiiiiiifeee!!!! Get it? Cause it's pumpkin beer and I'm 
gonna carve a pumpkin? It's funny if you don't think about it.

Picking a design is the hardest part. Is your pumpkin fiercesome? Goofy? Does he have buck teeth or fangs? Triangle eyes or big circles? So many shapes to choose from! Also, I'm lazy and not as deft with a kitchen knife as I'd like to be, so the simpler the better.

I went with a mix of both, trying to carve out what I hope was cute and endearing fangs, with some matchy-matchy triangle nose and eyes to really give him some pop!

 Oh, hai! Did you scoop out my brains? Cause I'm feeling kinda sleepy...

Once le guts are scooped, I gave em a rinse making sure all the gooey parts were gone and let them dry a little bit. Then I tossed them with a tablespoon of melted butter, 1/2 teaspoon of salt and 1/2 teaspoon of pepper. 

 We really don't even have to cook these, butter makes everything edible...

Toss, toss, toss, then onto the baking tray with them. Spread em out, sprinkle a bit more salt and pepper and then pop them in the oven (325 degrees) for 25 minutes, checking every ten minutes or so.

I couldn't resist...

Honestly, I really apologize for not having a finished seed pic, but once we got them out of the oven it was like a feeding frenzy. Just a blur of butter, salt and singed pumpkin seeds . Trust me though, they were good....

Luckily, I did manage to get a pic of little Pumpkin head here before bounding off to swim through a pile of toasted pumpkin seeds a la Scrooge McDuck. Observe:

One last need for Halloween? A little friend for your pumpkin. 
No one should go trick or treating alone!

Til next time, happy holidays!

Thursday, October 6, 2011

Tealights

 Tea-hee

Hey hooooo. What's up? I love when I bumbling around online and find a pretty picture of a teacup that's been made into a candle, and thought, dude, I can make that :).

I found this lonely little teacup at my local Savers store and have been holding onto it until I gathered the necessary supplies. Any mateless teacup, an empty shot glass, or crazy martini glass will work as well. Skies the limit.

Unfortunately you'll need a number of items to complete this craft, such as:

Candle Wax (Available at most craft stores, comes in regular, gel, soy, scented etc)
Wicking and Wick Tabs (Unbeknownst to me wicking comes in different thicknesses. I accidentally got the extra large kind, but it comes in XSmall, Small, Medium etc. Look on the package and it'll tell you what size candle goes with what size wick. The tabs are one size fits all, you can also get pre-tabbed wicks in varying lengths.)
Candy or meat thermometer (Has to go up to 300 or 400, you need this to monitor the wax when it's being melted so it doesn't burst into flame. Important because bursting into flame is unpleasant.)
Wax mold (You can buy preshaped rubber, metal, porcelain or waxed paper molds, or just make your own! I'm going to do another post on pillar candles made from toilet paper tubes and cookie cutters. If using a mold you plan to take the candle out of, just coat the inside with some non-stick cooking spray.)
Scents (I'm using lavender for this bad boy, but any non-flammable scent will work.)

Les accoutrements des candles.
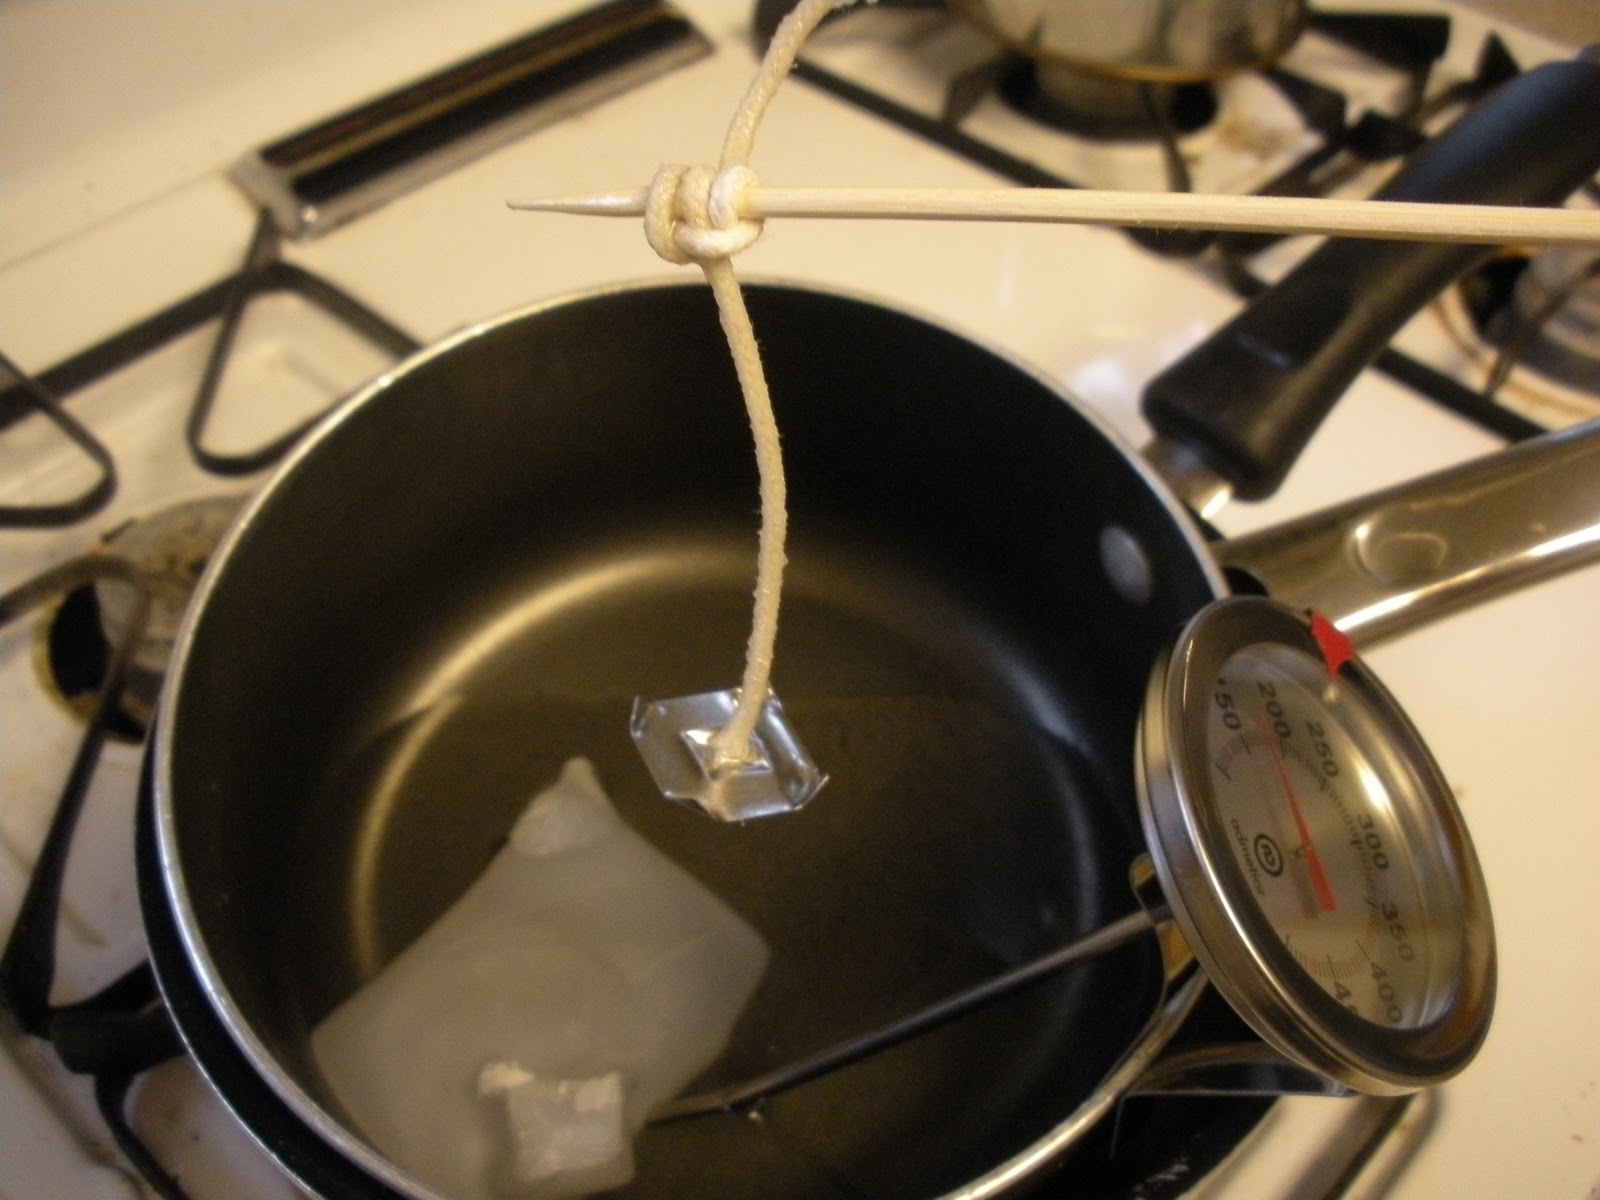
Step one: Set up a double boiler. This is to prevent the flame-bursting thing we were talking about before. Fill a large pot 1/3 of the way with water, plop another pot in the larger one and turn on the burner. Make sure the water doesn't look so high it'll boil over, but high enough so that it cups the bottom of the inside pot. Set the thermometer in the smaller pot and put the wax in it to melt. The wax packaging will tell you how hot to let it get, PAY CLOSE ATTENTION TO IT AND DON'T LEAVE THE ROOM. Fires are a bummer.

Please don't look at my gross stovetop.
Step two: When the wax is melting, prepare your wicking. Measure your teacup and cut the wicking so there's a couple extra inches, and trap one end in a metal wicking tab. Tie the loose end around a stick and place across the top of your container. Make sure the metal tab can sit comfortably at the bottom, but the wicking is straight up to the stick so that the flame burns straight down, not all willy-nilly like some kinda drunk candle.


El Steppo Tres: When a little bit of the wax has melted, push the wicking to the end of your stick and immerse it in the melted wax, covering the wicking and the metal tab.


 Hot, yo.

Place it back in the candle so the tabs on the bottom, and pour a tiiiny bit of hot wax on the bottom. Place in the freezer for a minute to set it. This helps keep the tab at the bottom and the wicking nice n straight.


 Brrrr. It's cold in here. I must not be lit yet.

When the wax has gotten all melty, CAREFULLY pour it into the teacup until it reaches about a 1/2 inch from the top. This is when I add the scent I'll be using, in this case lavender. I added about 8 drops, but go as crazy as you like. As the wax cools it'll leave a little depression in the middle that you'll have to fill in with more wax, so keep a little in the pot.

 I'm depressed.

Let it cool, about fifteen - twenty minutes, then pour a leeeetle bit more wax in until it reaches about a 1/4 inch from the top. Let cool again. I wouldn't put it in the freezer this time, if it cools too quickly the wax can split and ruin your whole project. Be patient. Go have a beer.

Pwetty.
Slide the stick out and trim the wick to a 1/4 inch.

 Tadaaaaa!

Light it up and bask in the glorious fiery burnination.

I feeeeell intoo a burnin' teacup of fiiiiire! I went doooown, dooown, dooown, 
and the flames went... not really all that much higher...

Also? Pretty paws.

Wednesday, September 21, 2011

Don't forget to bring a towel!

When you're a crafter, y'save stuff... Waaay more stuff than you should save. Pieces of fabric, paper towel tubes, anything that can be repurposed into something else. I've been holding on to this depressing little towel for awhile, waiting to find a pretty and super useful thing to turn it into. What kind of thing, you ask? Why other, smaller, towels of course!
This post has a lot of pics, so bear with me...
First I'd like you to meet my sewing machine, Big Bertha. Isn't she perty? Made in the 1985, so she's almost as old as I am :).

Seeeew, come here often?
My little scrap of a towel. I took the total length and divided by three, so that I could squeeze three little towels out of this one regular sized one.


It helps a lot if you have a cutting mat used for quilting, but as long as you measure all the sides of the towel carefully you should be fine. I folded the towel in half so I'd just have one shorter cut to make instead of a much longer one. It helps keep the cutting line straight as well.


I lined up the bottom and right edge of the towel as evenly as possible with the markings on the mat. Then measured 15" from the right side because that's how wide each of the little towelettes are going to be. Laying the ruler across the fabric, trying to keep it from shifting underneath, I lined up the right edge of the ruler with the markings on the mat so that I get 15" from the right side of the towel on both the top edge and the bottom.


 Try to get it as close to perfect as possible, but don't worry, no one will be able to tell if the lines are off by a quarter of an inch or so. Mark the line with a pencil, it'll come off in the wash.


Do some hand stretching stretches, 'cause cutting through the thick fabric of a towel will send you into convulsions. Also helps if you have super sharp fabric cutting scissors.


You should have a couple of same-ish sized little towelettes.

 Is it weird to be proud of cutting up towels nicely?

Tuck the raw edges in on themselves, using as little fabric as possible. Because this towel is so thick I had to fold over about an inch of fabric. You can leave the raw edge exposed though, because we're going to sew right over it, covering it up.

 Keep track of your pins... Seriously... Because they're sharp... Because they're pins.

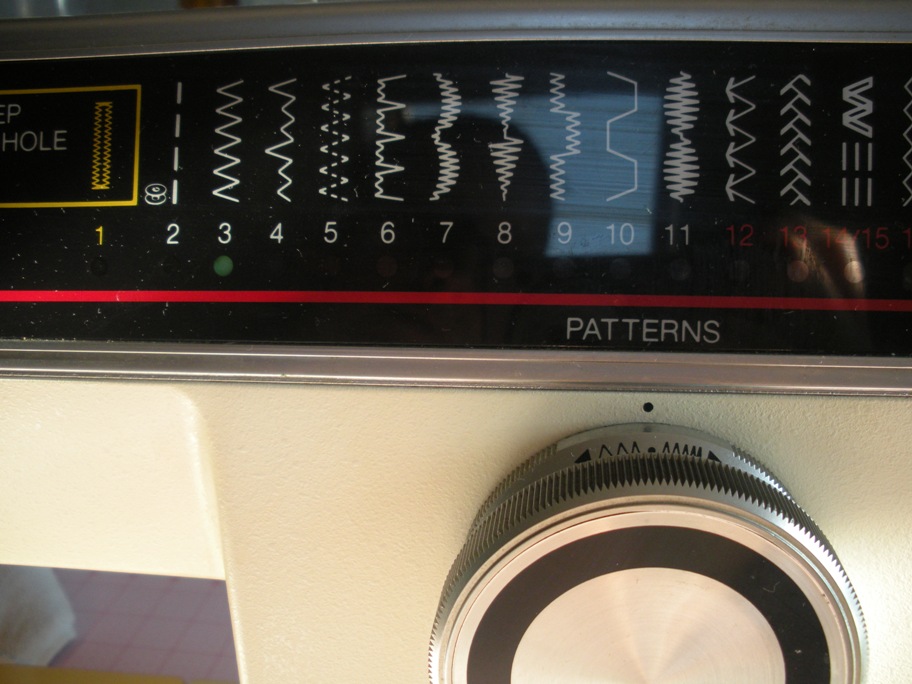
Set the sewing machine to a straight stitch setting a the skinniest stitch allowance (See following two pics). We're going to sew only a 1/4 inch or so at this length to lock in the ends of the thread, then switch to another stitch. Lemme esplain...


The skinniest stitch setting is all the way to the right (On Big Bertha at least), and the widest is to the right. That's used mostly for zigzag stitches and other crazy embroidery stitches, we're only going to use the zigzag and the straight stitch this time.


Center the needle right above the line where the raw edge of the fabric is, and clamp the presser foot down.

To lock down the end of the thread, sew a straight line using the straight stitch for about a 1/4 - 1/2 an inch. When you've reached that point, sew veeery slowly until the needle is down all the way into the fabric, put the machine into it's reverse sewing setting, and sew back on top of the line you just made. When you've gotten  back to the original starting point of the sewn line, put the needle all the way down into the fabric again, and stitch forward through the same line again. This will anchor the thread and keep it from pulling out without having to tie a bunch of little annoying knots.

 When you've gotten to this point, switch the setting to the zigzag stitch, and make it the widest stitch possible. See the following two pics.


Using this stitch, sew down the line of the raw edge of the fabric, making sure the wide stitch covers the raw edge on both sides. Make sure to switch back to the straight stitch at it's narrowest setting to lock the thread down when you reach the end.
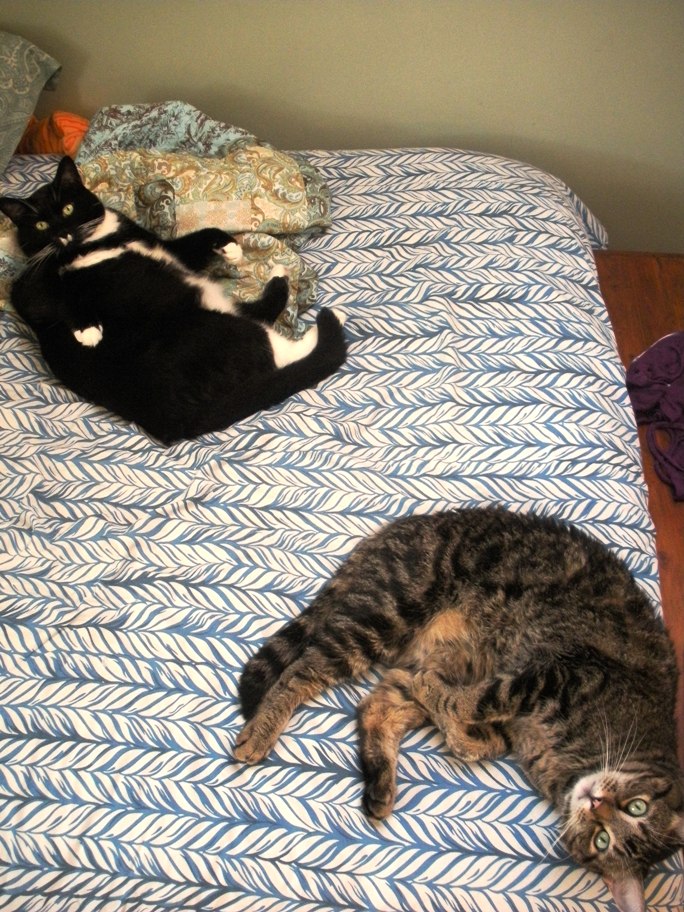
So fwuffy.

You should have a lovely set of matching towels to adorn your boudoir.

 Make sure to have plenty of cats on hand for emergencies.


Tuesday, August 23, 2011

Spilt milk

Here's a teeny little post just for fun, to tide you over until the next craft.

I'm always looking for ways to bust my glass stash, as I think it creeps people out when they see my piles of booze bottles and pasta sauce jars on the porch. We also have a lovely selection of paint cans in various stages of rust-ation as our apartment has been painted quite a few times. So combine the two and what do you get? Milk glass!

Stage one: take a piece of glass with a pretty shape, clean it out nicely and dry off completely.


I may also mention that I'm a bit of a antique glass junkie. I love Victorian style beauty supply bottles, and anything referencing sugar or sweets. This particular bottle I picked up at the Brimfield Antiques Fair, or as I like to call it, the Hoarder's Candy Store. It's hard to see but it says Fellows Compound Syrup; not the most delicate example of antique glass, but hey if it mentions syrup, I'm buying it.

Stage two: Pour a small amount of paint (I prefer latex because it cleans up easily) in a party cup or disposable container. You can also use a measuring cup if you feel like cleaning it later. I do not.

Stage three: Carefully pour the paint into the jar/bottle, and turn it over and over until the paint coats all the surface on the inside. When coated, pour the excess paint out of the bottle/jar into the trash or some other receptacle. Whip the rim to get rid of excess paint with a damp cloth. Let dry.

Stage four: Enjoy the glorious fruits of your labor.